Having completed my Pizza Oven Course I knew how to make a cob oven. The real problems related to logistics. This wasn’t a minor undertaking when you work a full-time job and have a small car. Why? Well, just the pizza oven required 200kg of clay, 500kg of sand and 30 driveway red paving blocks (200m x 100m). I sourced one large bag of straw from Amazon. The paving blocks and sand were sourced through B&Q. The clay was a nightmare though, as the company I chose offered zero customer service.
At this point, you might be asking, how is this an upcycled project? I have bought from Amazon, B&Q and a model shop. There is more to it than these purchases. For starters, you could buy proper pizza bricks, however the paving bricks I bought work just as well, are much cheaper, and could even be recycled. You could dig up clay from your garden or a field. Sadly, I have gravel, I checked maps from the local area to see if there was clay easily accessible. One important part of the cob oven that was not an issue though was recycled wine and beer bottles! We have plenty of those different sizes help, and again that wasn’t a problem. I would argue it is important to buy straw that has been treated, as otherwise it is possible that seeds within the straw may start growing out of your oven, which would not be ideal!
Building a base for your cob oven
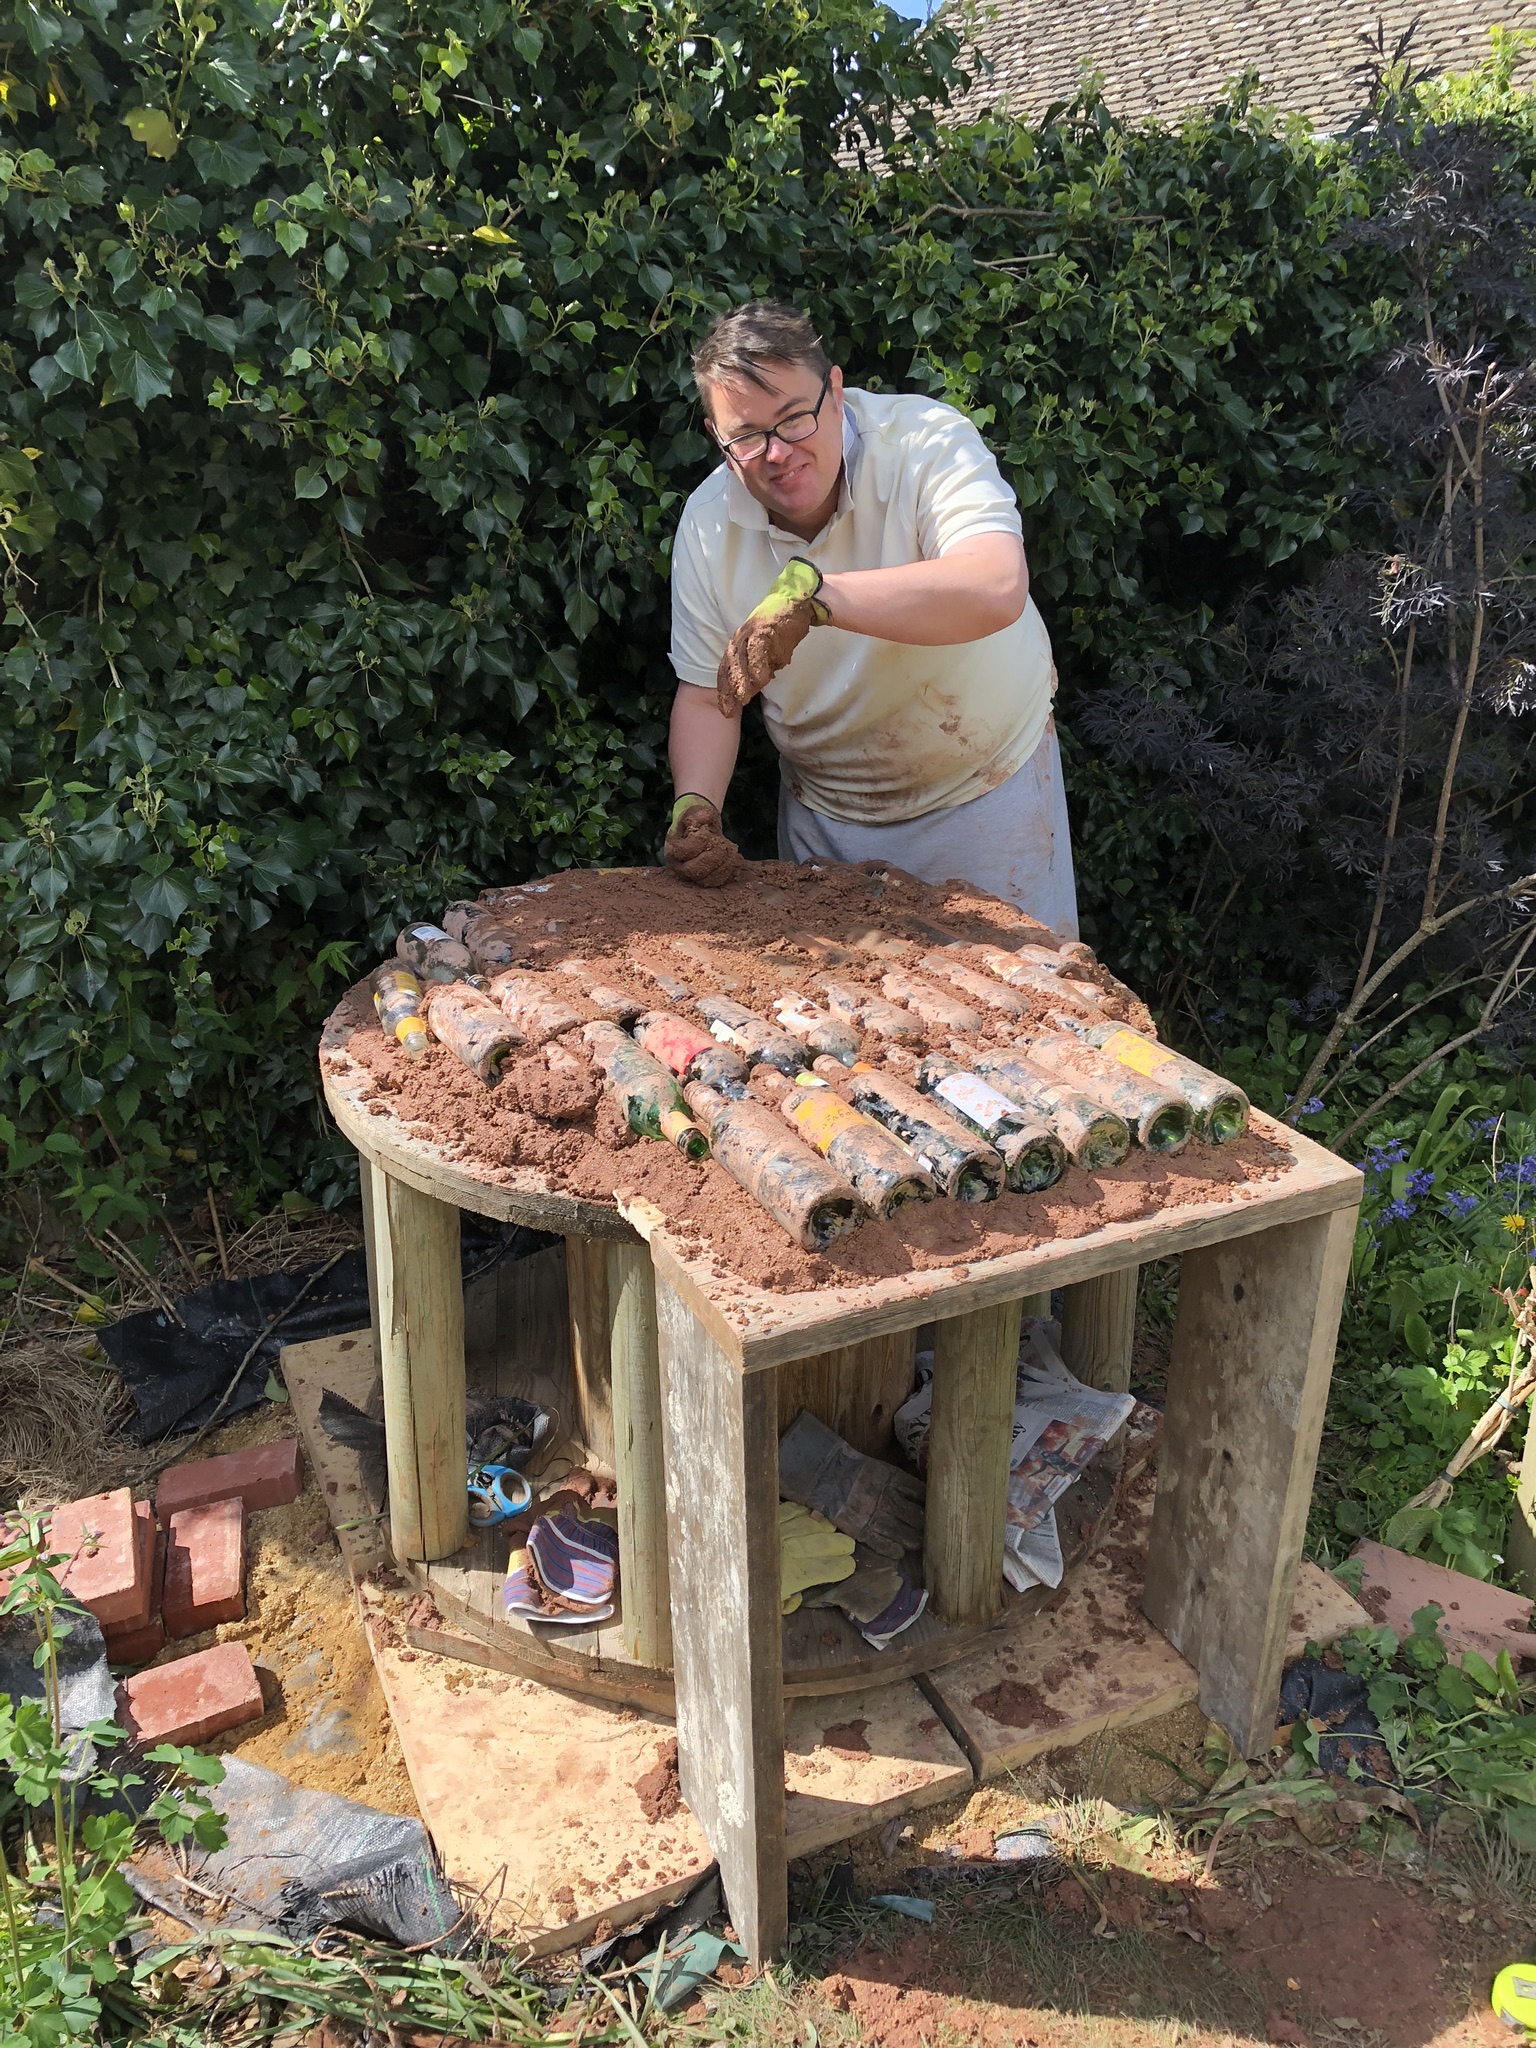
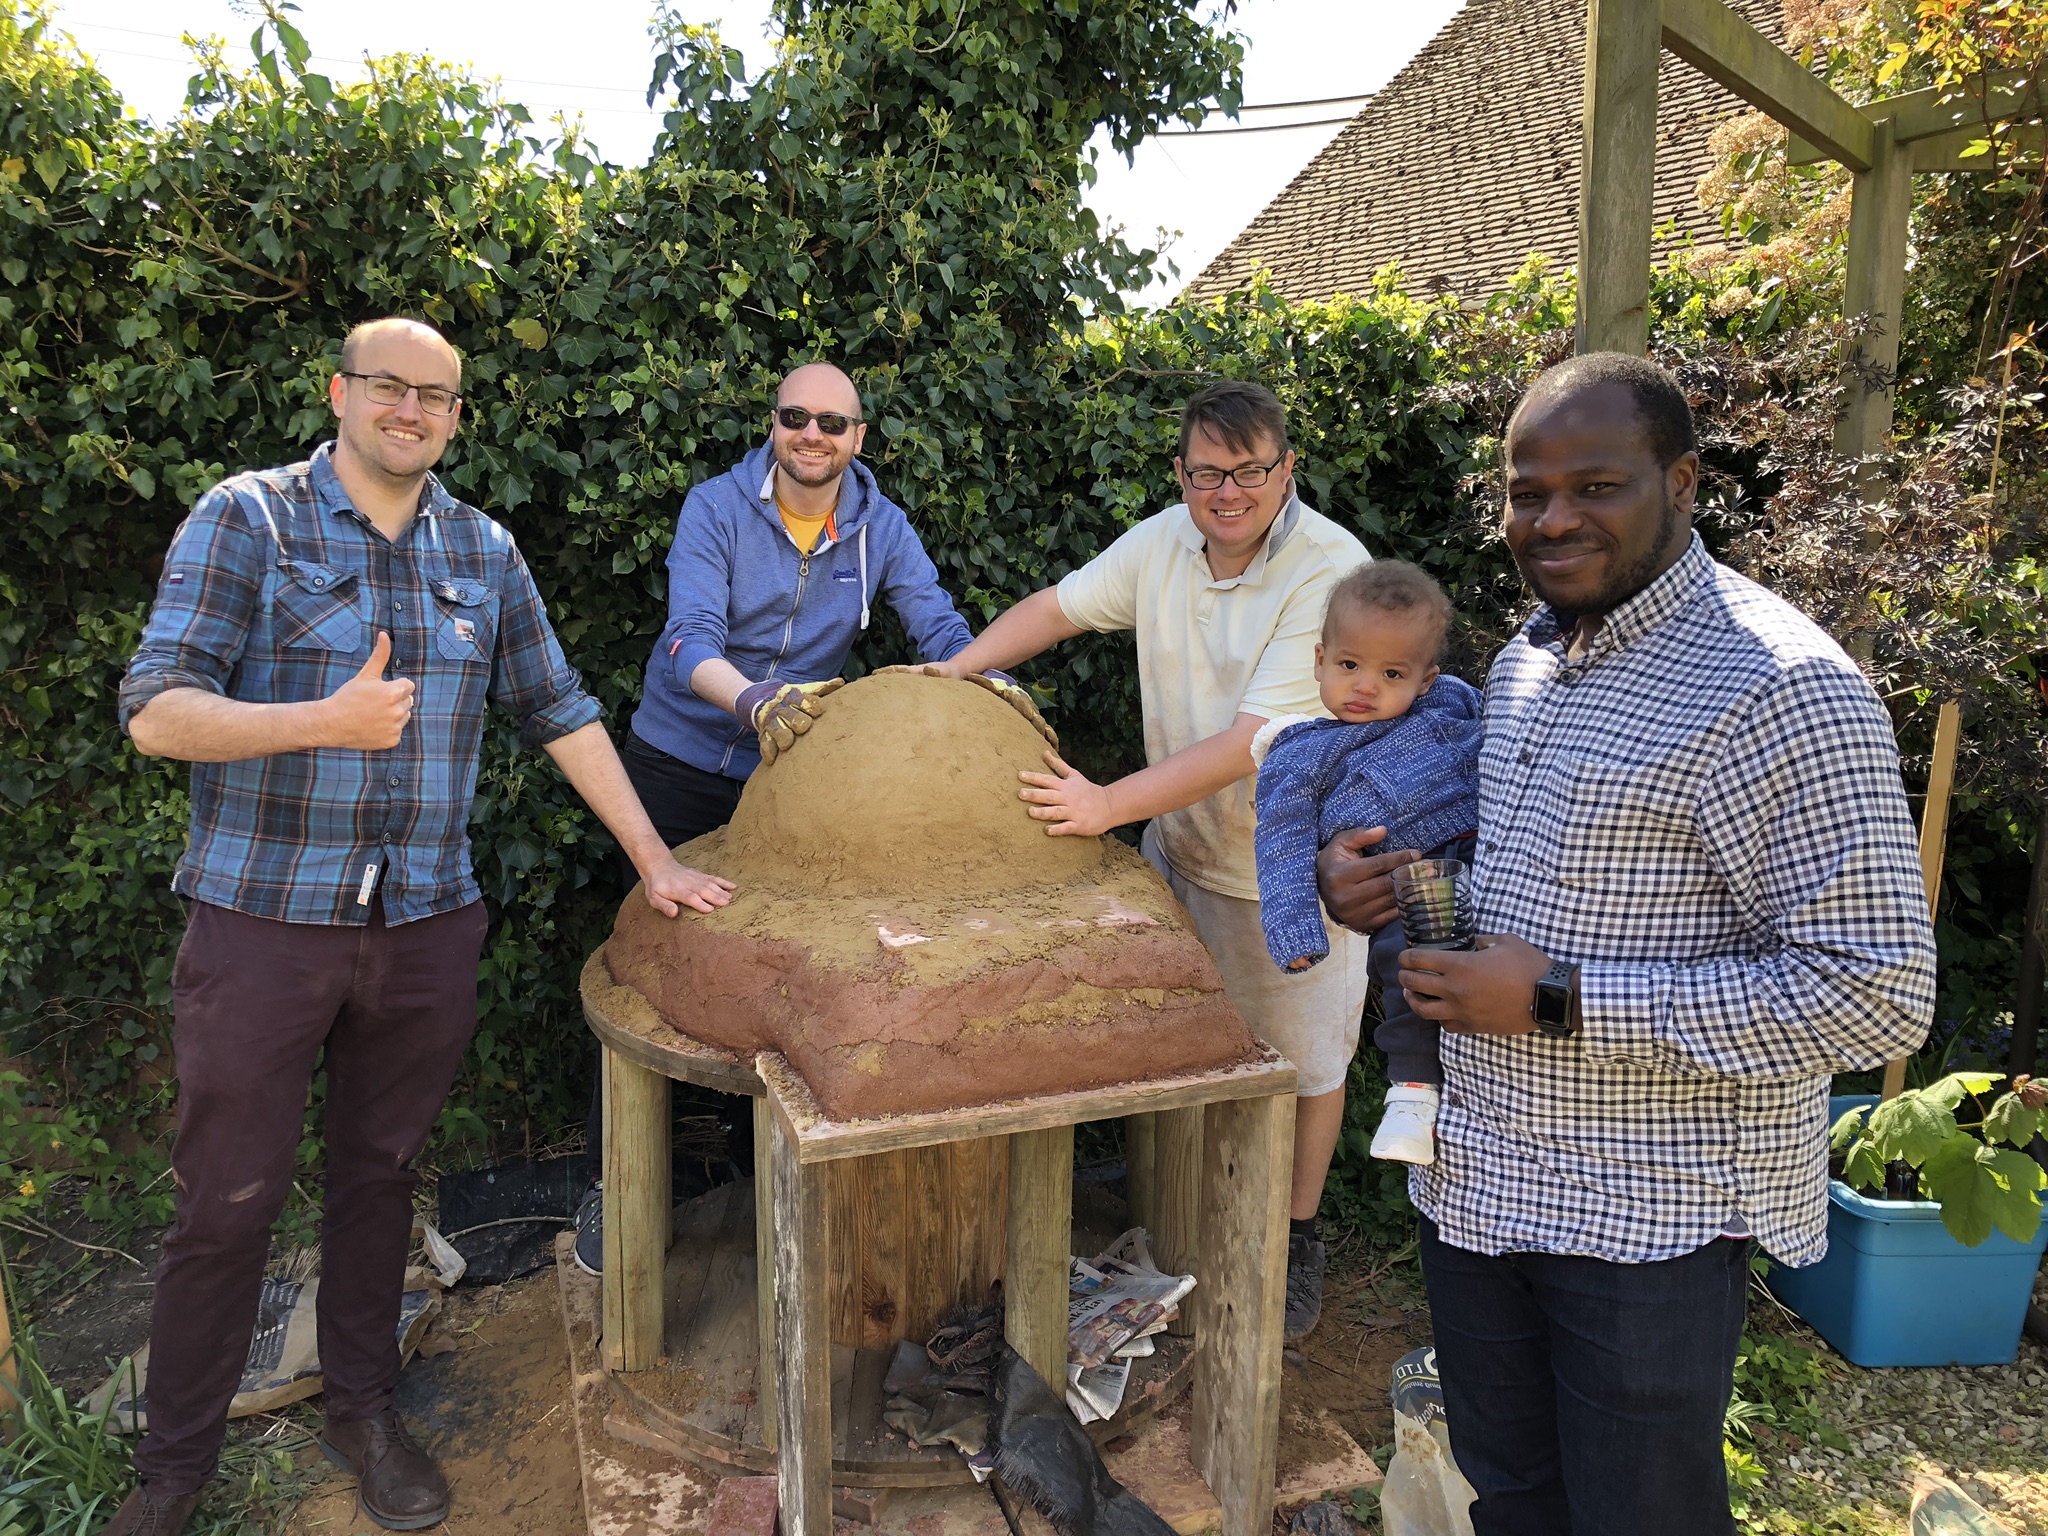
With the oven ingredients collected I had to really think about the base and the cover. With over a ton of weight and high temperatures it had to carefully planned. I really did not want to use concrete as it was wasteful and expensive. So, I opted for a cable reel. Brave or mad, to put one ton of clay that will reach 500C heat on a wood structure such as this?! No-one had tried it. No-one would recommend it. Nothing ventured, nothing gained. I braced the reel around the sides with blown over fence poles, cutting off the rotten bit and strengthening with cable ties. These were hammered into place. This also meant I had a wood store. The cable reel sat on weed mat, some recycled slaps and sand. I was ready to start some cobbing!

How to make cob
However, it could be a long job. So, some slave labour (friends) were required to help. Cob is a mixture of rough sand and clay, mixed with your feet, with a little water and then hand mashed into a ball to make a cobble, which can then be lightly bashed in with a piece of wood. Not too wet, not too dry. It’s a matter of trial and error get the right mixture. Too wet, and it will never dry and collapse.


Construction of the cob oven
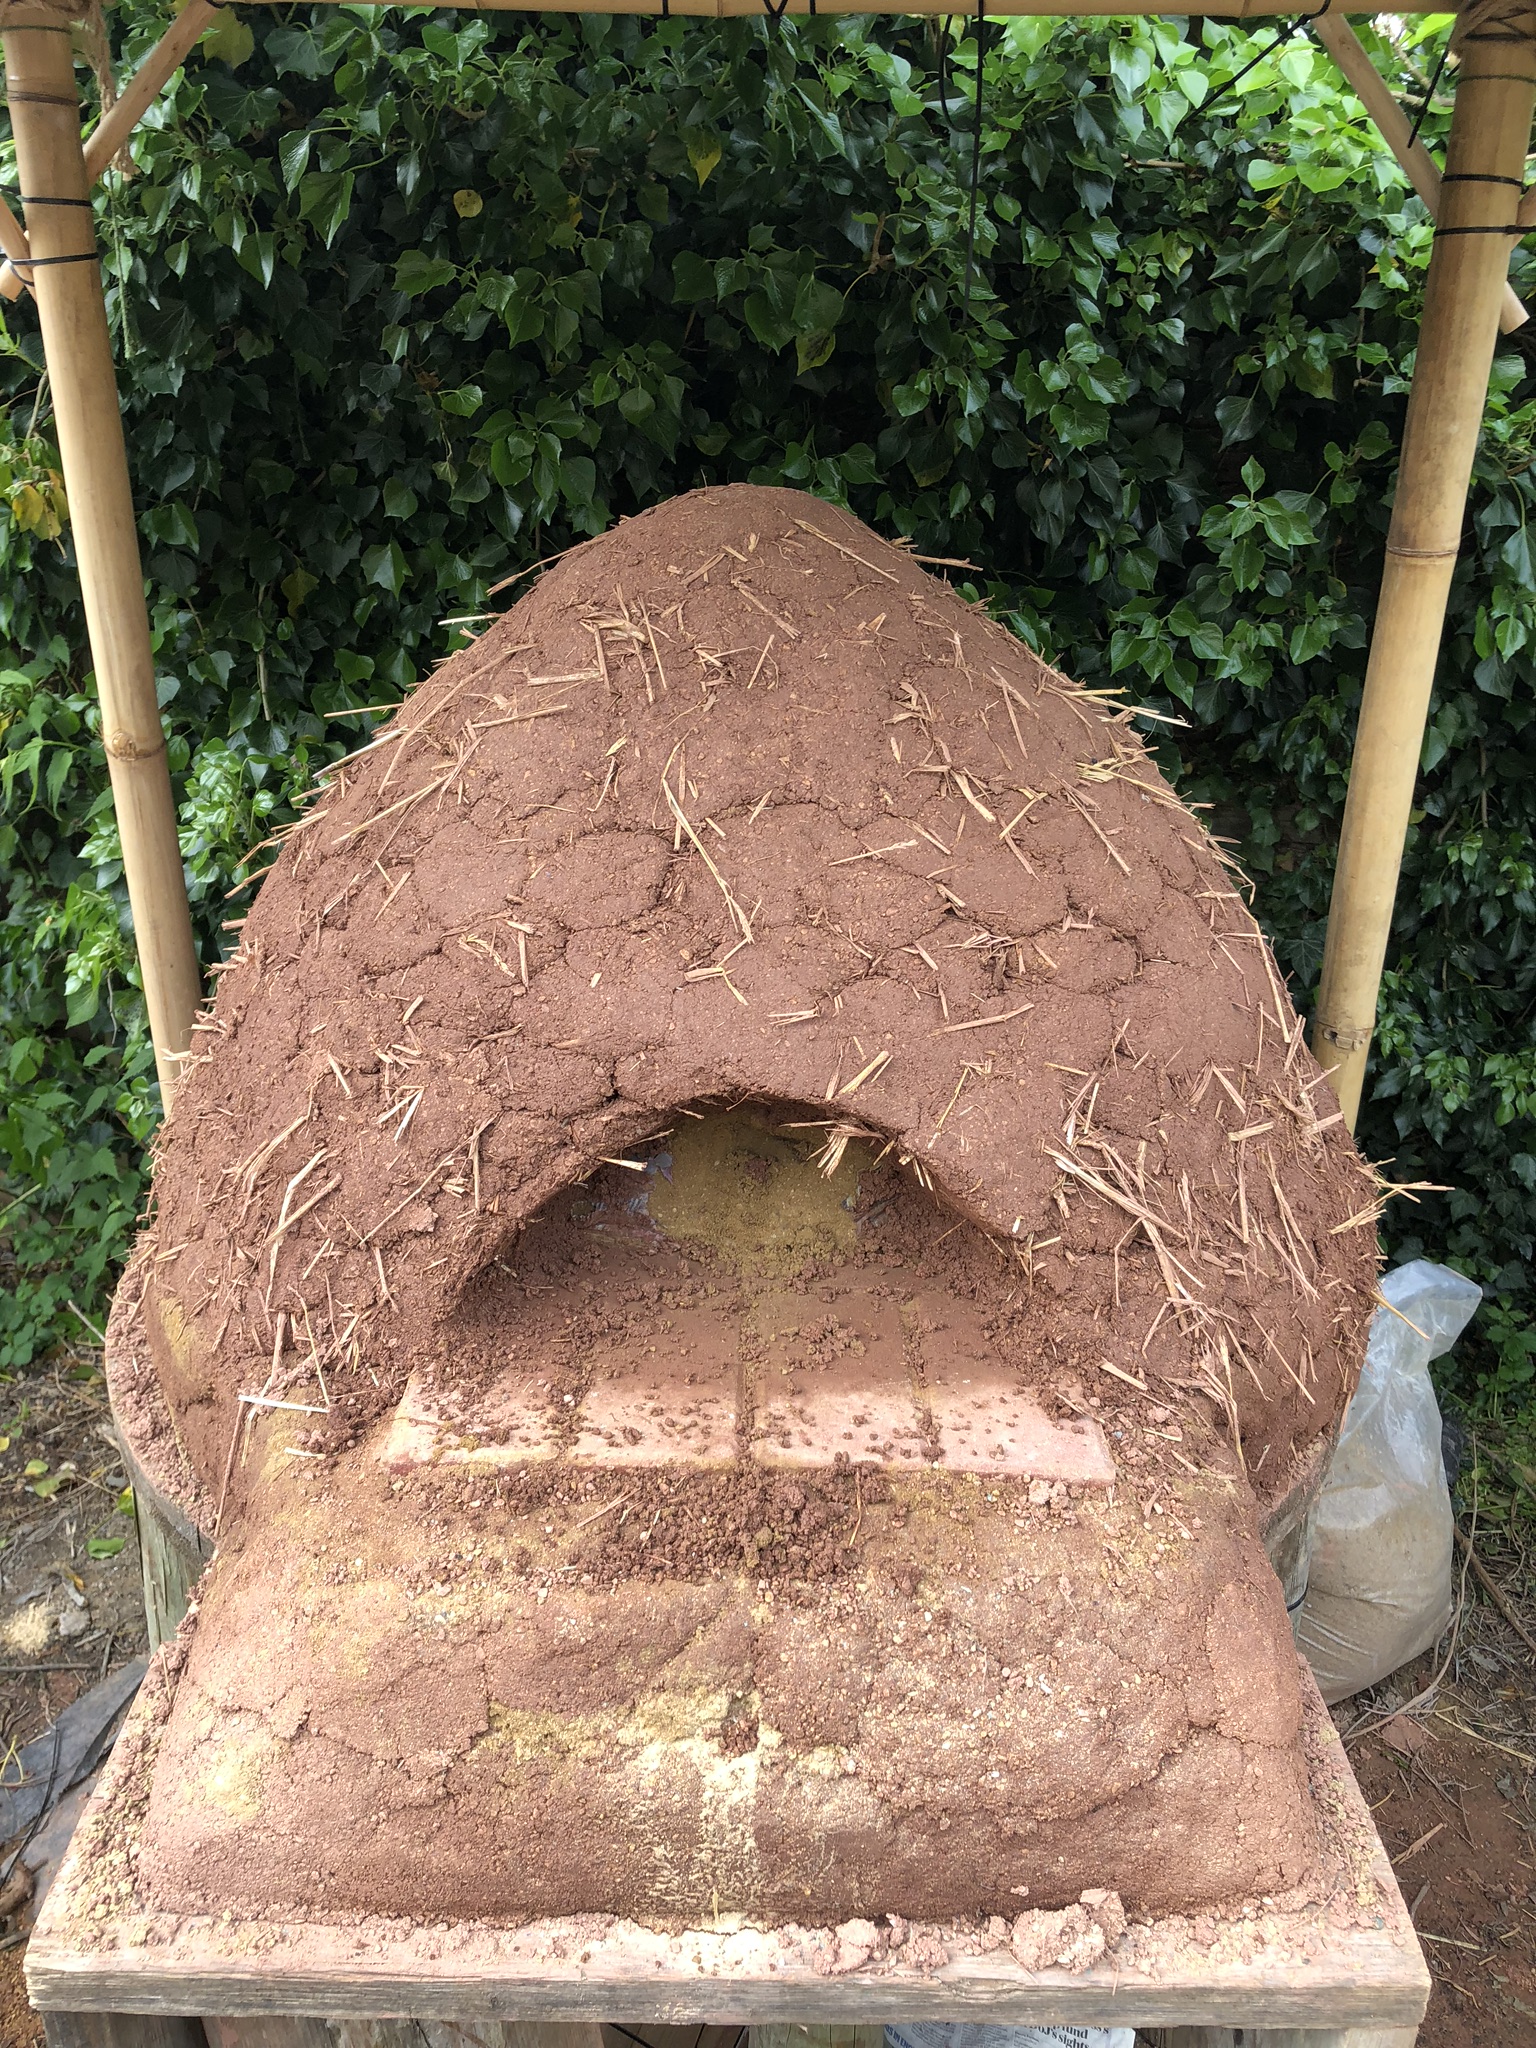
The first part was the base. I used cob and two layers of recycled glass bottles. Yes, glass and wood under 500C heat. Amazing!? It acts as insulation and works well. I advise you leaving a couple of days to allow your base to dry. I did not and have later have to deal with a little bit of subsidence. Once the layers of bottles are in place, add sand and then lay the bricks for cooking the pizza on top.

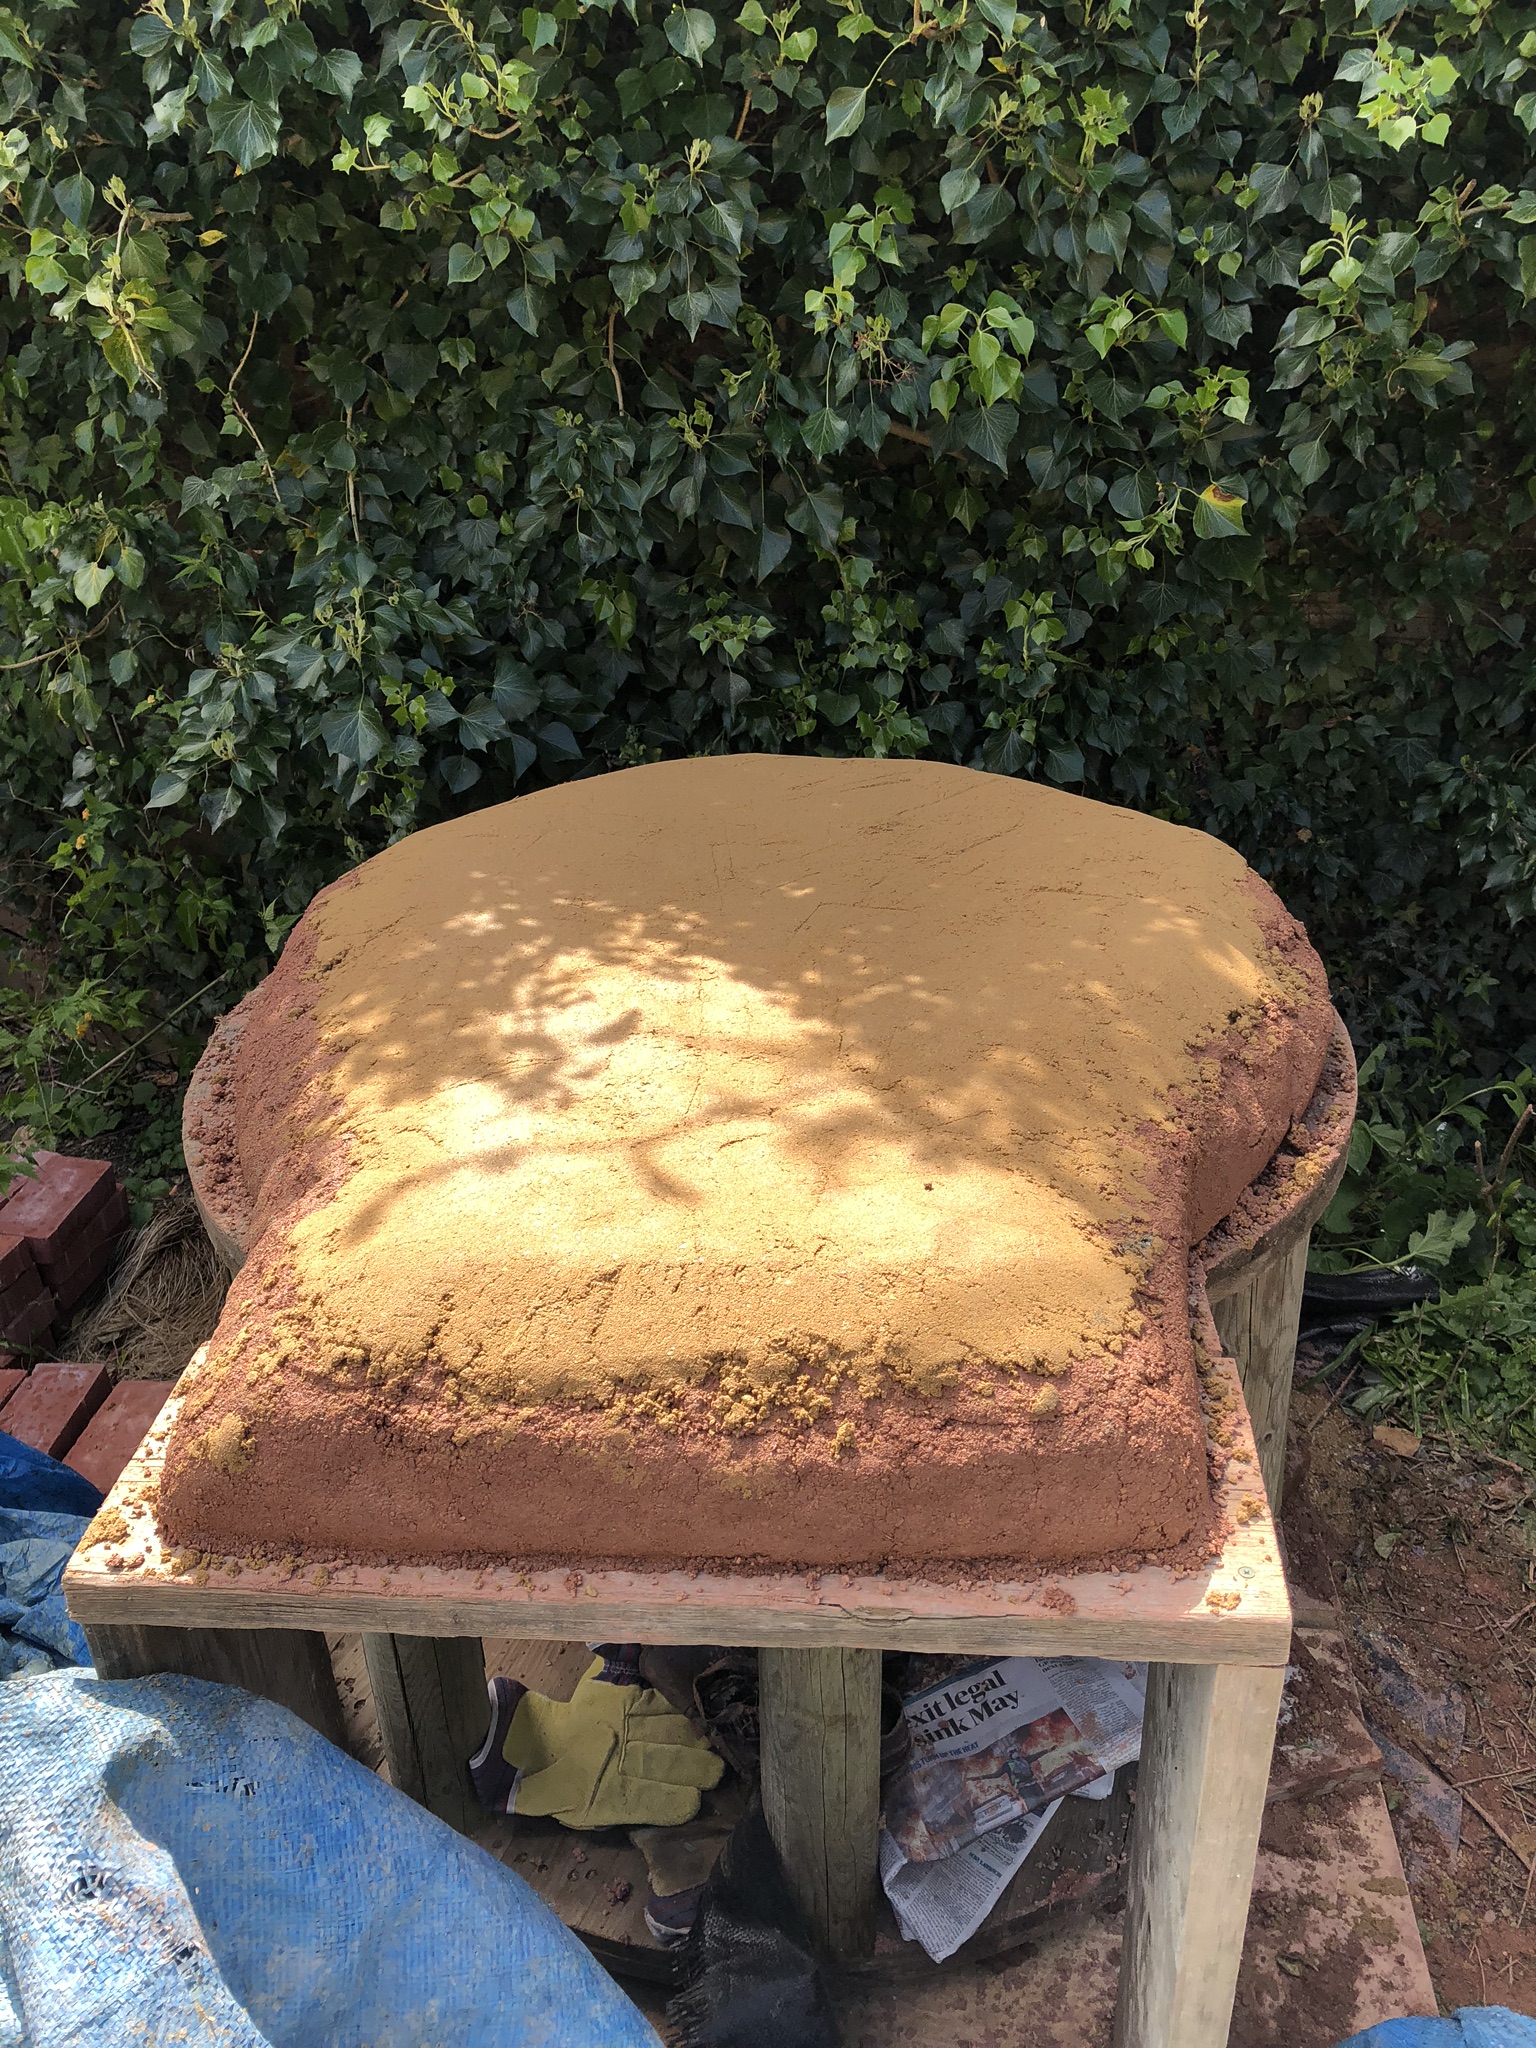
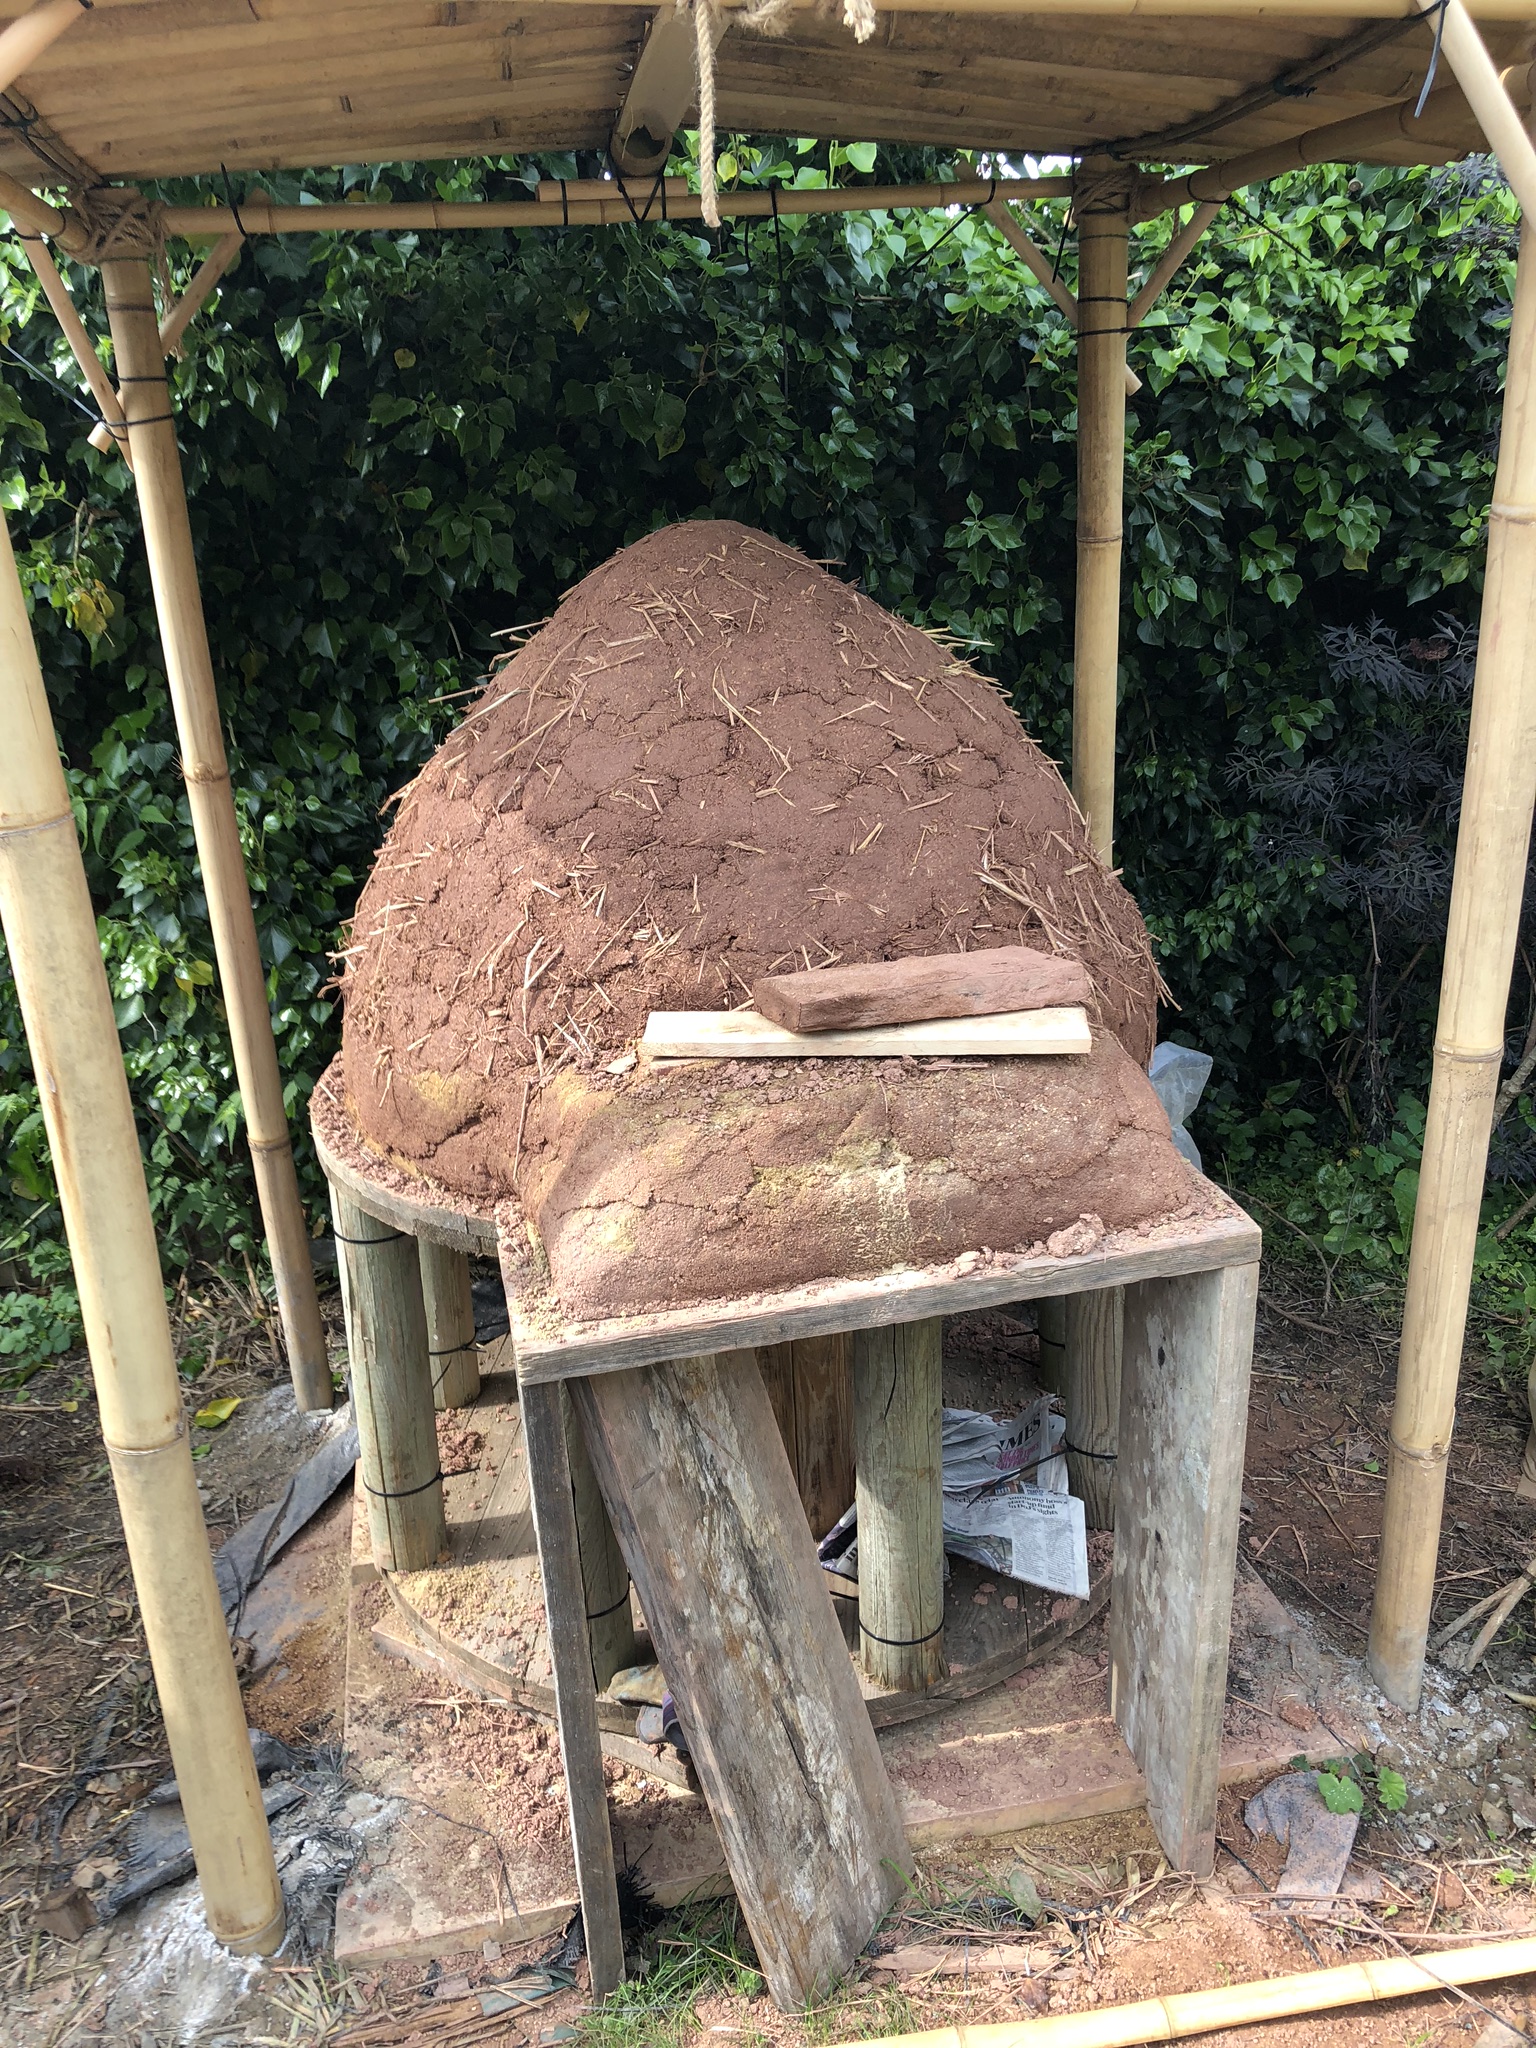
On this brick base I made a fine sand dome covered in wet newspaper. Once the mould was in place, I began to build up the sides and padded down my cob bricks. Once I had done this once, I then started again on a second layer, this time with some straw mixed into the cob. Much, much later, I finally had the structure. The weight caused some subsidence and I had to take action to stop a collapse while it dried.
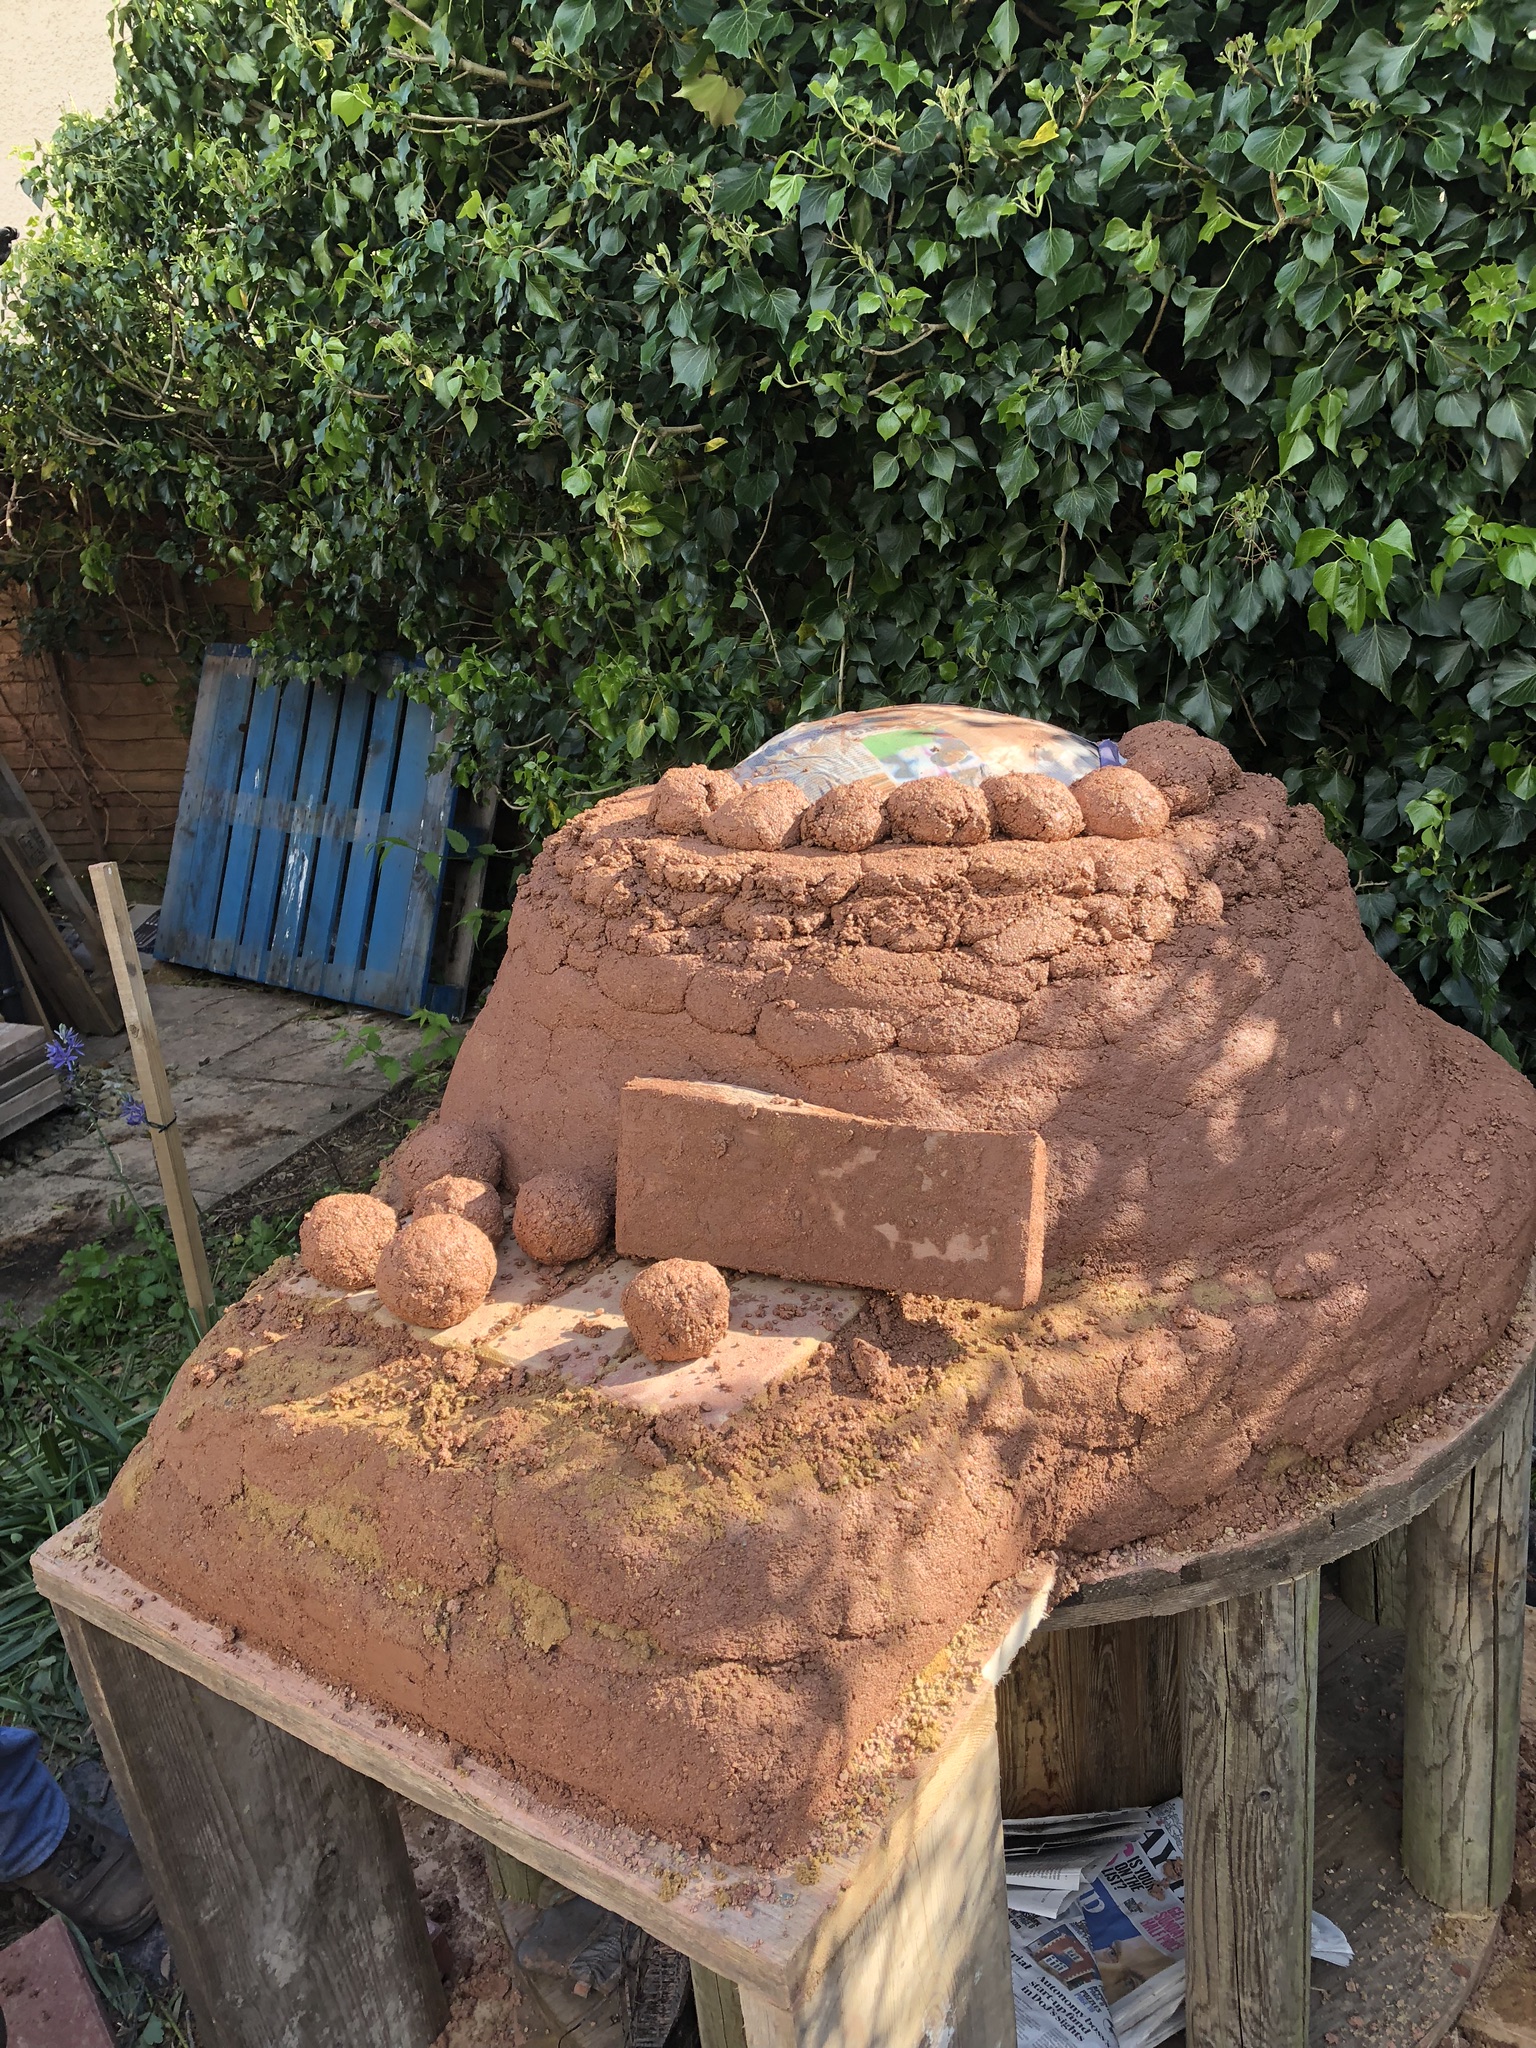
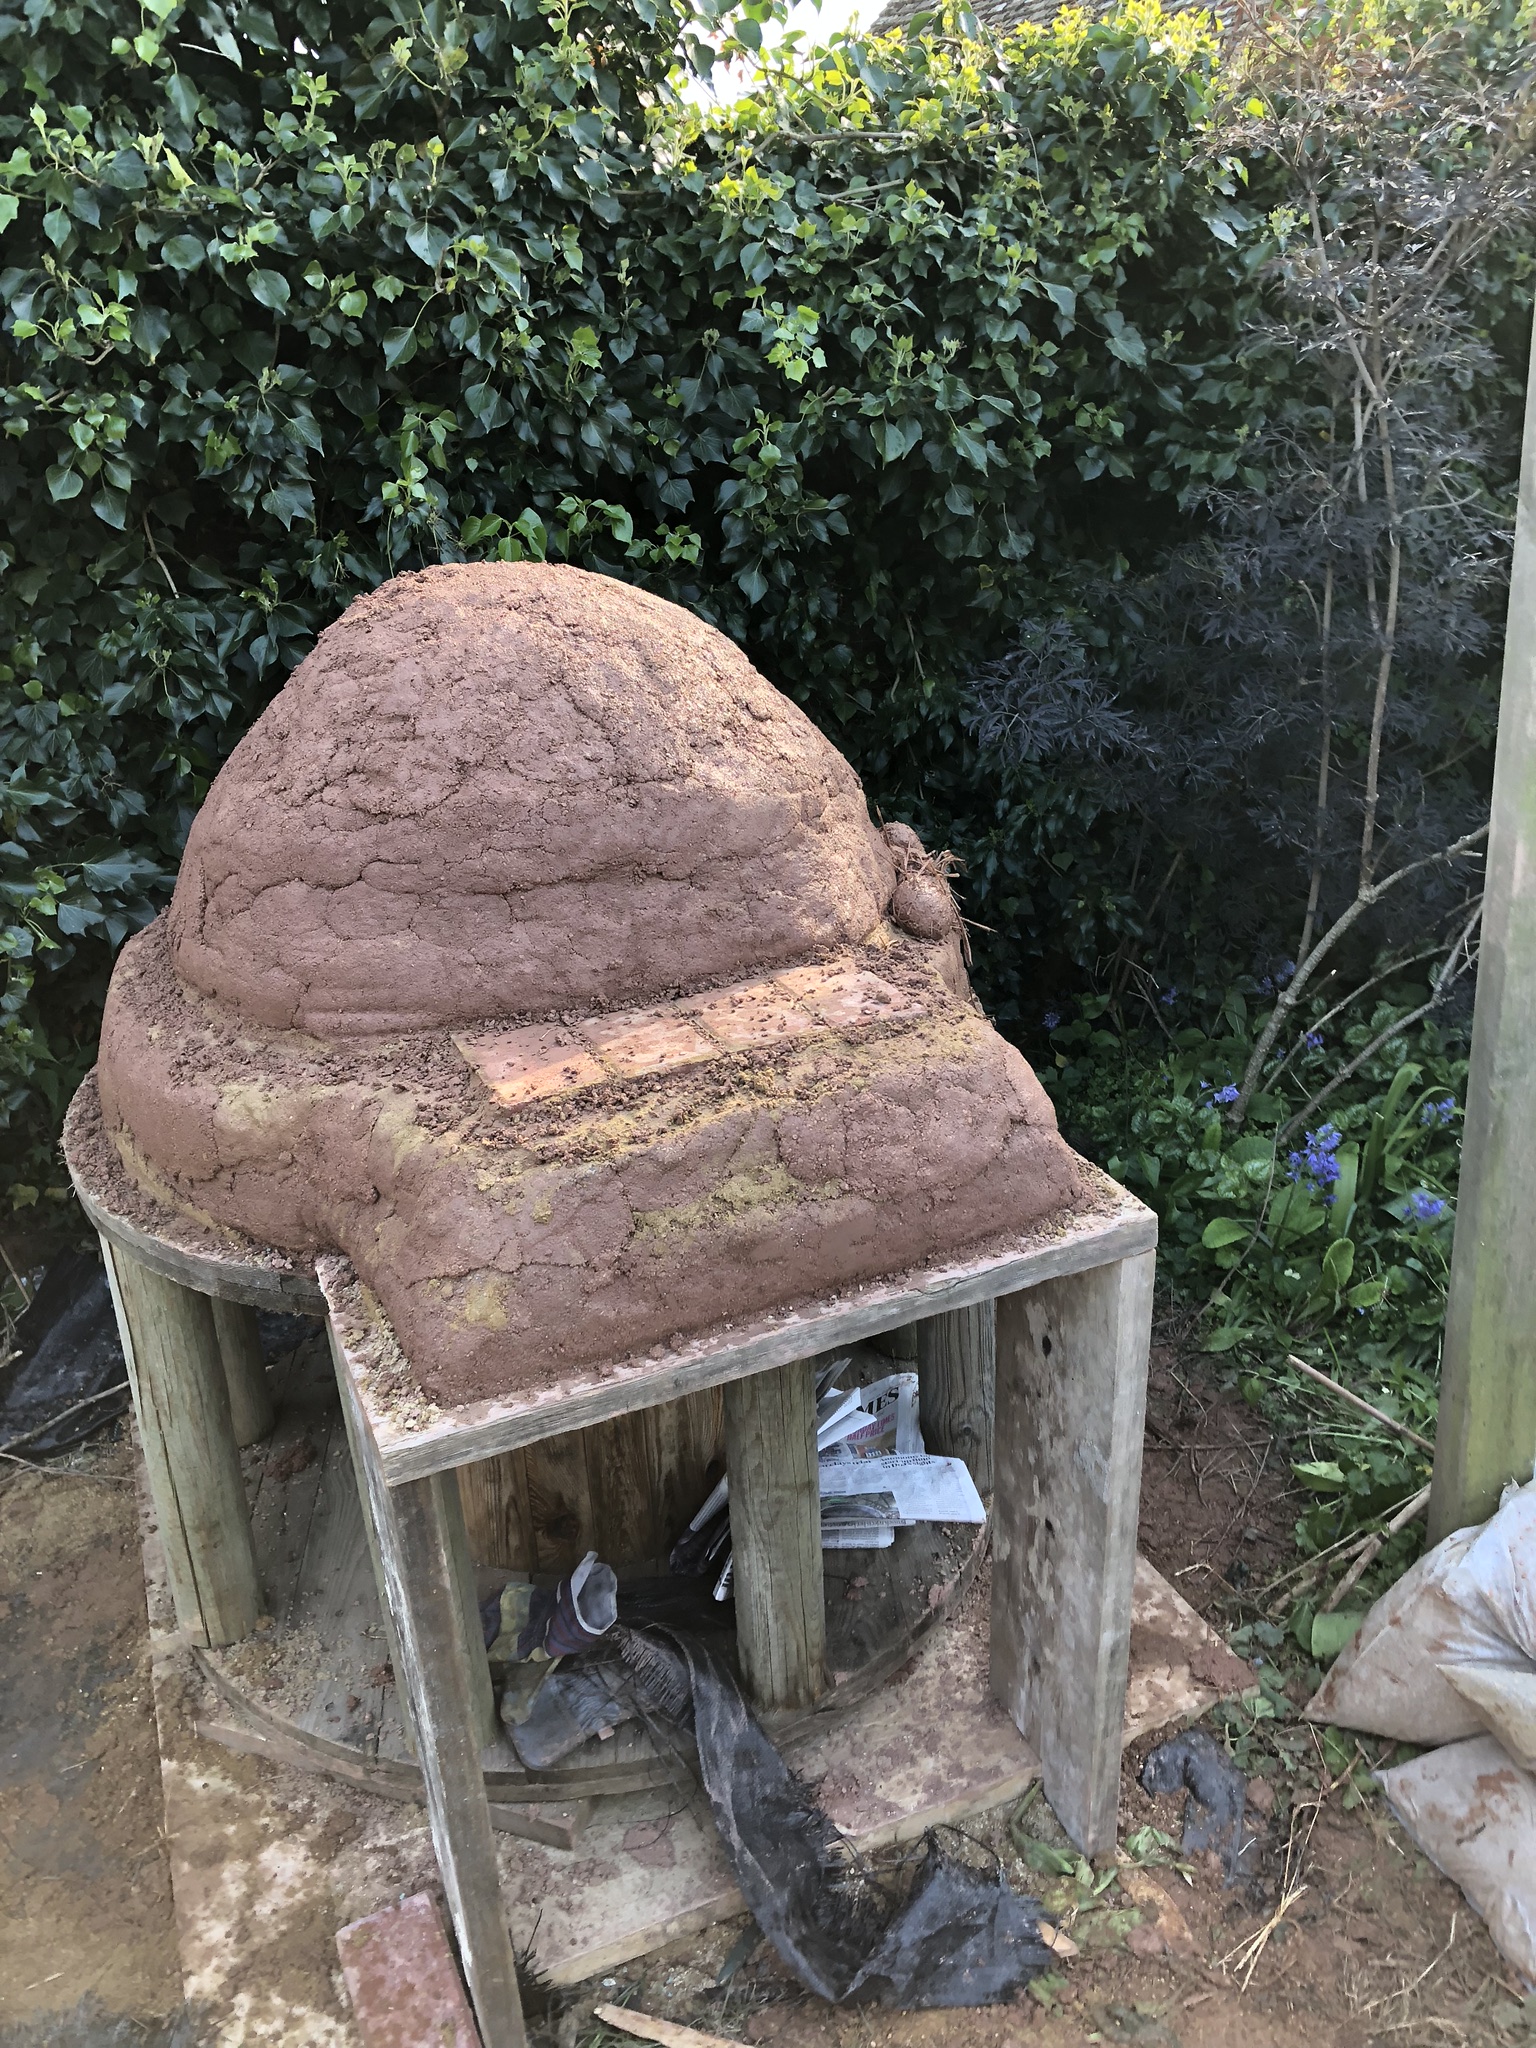
In the end this becomes a game. You want it to dry so it doesn’t collapse, but wait too long, and cutting the door to your over will be a nightmare. I got it right, and cut a hole and dug out the sand so that we had the shape. You don’t really need a tunnel porch, but I though it looked good and would make one with a wee bamboo chimney. To support my porch, I used scaffolding planks.

The finishing touches to your cob oven
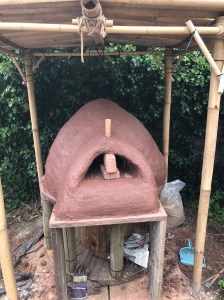
My fine outer layer was again experimental, I had read how insulating cork was, so purchased some cork granules and mixed with clay to make a smooth surface. The pizza oven had its shape. The finishing touches were the door, a cut a piece of scaffolding plank to shape, then insulated with cork and wool for an outer door. For an inner door I took a paving stone, drilled a cork handle into, then shaped some clay to make the door rounded.
Building a cover for your cob oven
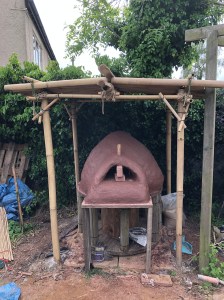
Unlike Africa, where it rains less, the British elements would literally wash my oven away. Taking inspiration from my travels in South East Asia I thought it would be rewarding to use bamboo for the cover and roof. This structure was my own design. Four large bamboo poles cemented in. A square lashed bamboo support with some broomsticks handles cross beams. I have learnt that when you don’t have many pairs of hands, that cable ties can be very useful for securing things. It hurts me not to do everything naturally, but sometimes you need help! I then lashed the poles together. The roof was split bamboo and I drilled a small hole at the top of the bamboo and used garden wire for a cantilever roof. Stupidly I made the holes a little low for the centre cap I designed and there can be a few leaks. I had to buy a larger centre cap to cover it. The design works well and keeps most of the rain off. As a back-up for rain and wind, I used a large BBQ cover to protect the Cob oven once cooled and not in use.
Cooking with your cob
Getting the thing lit and keeping it lit is an art form. Good, aged logs cut into small kindling is key. You need to light the logs at the front of the oven and gradually push them back into the oven. Do this too early and the fire will go out but do it too late and you might damage the arch of the door with the heat. Then, over the next three hours you feed the oven more and more wood.
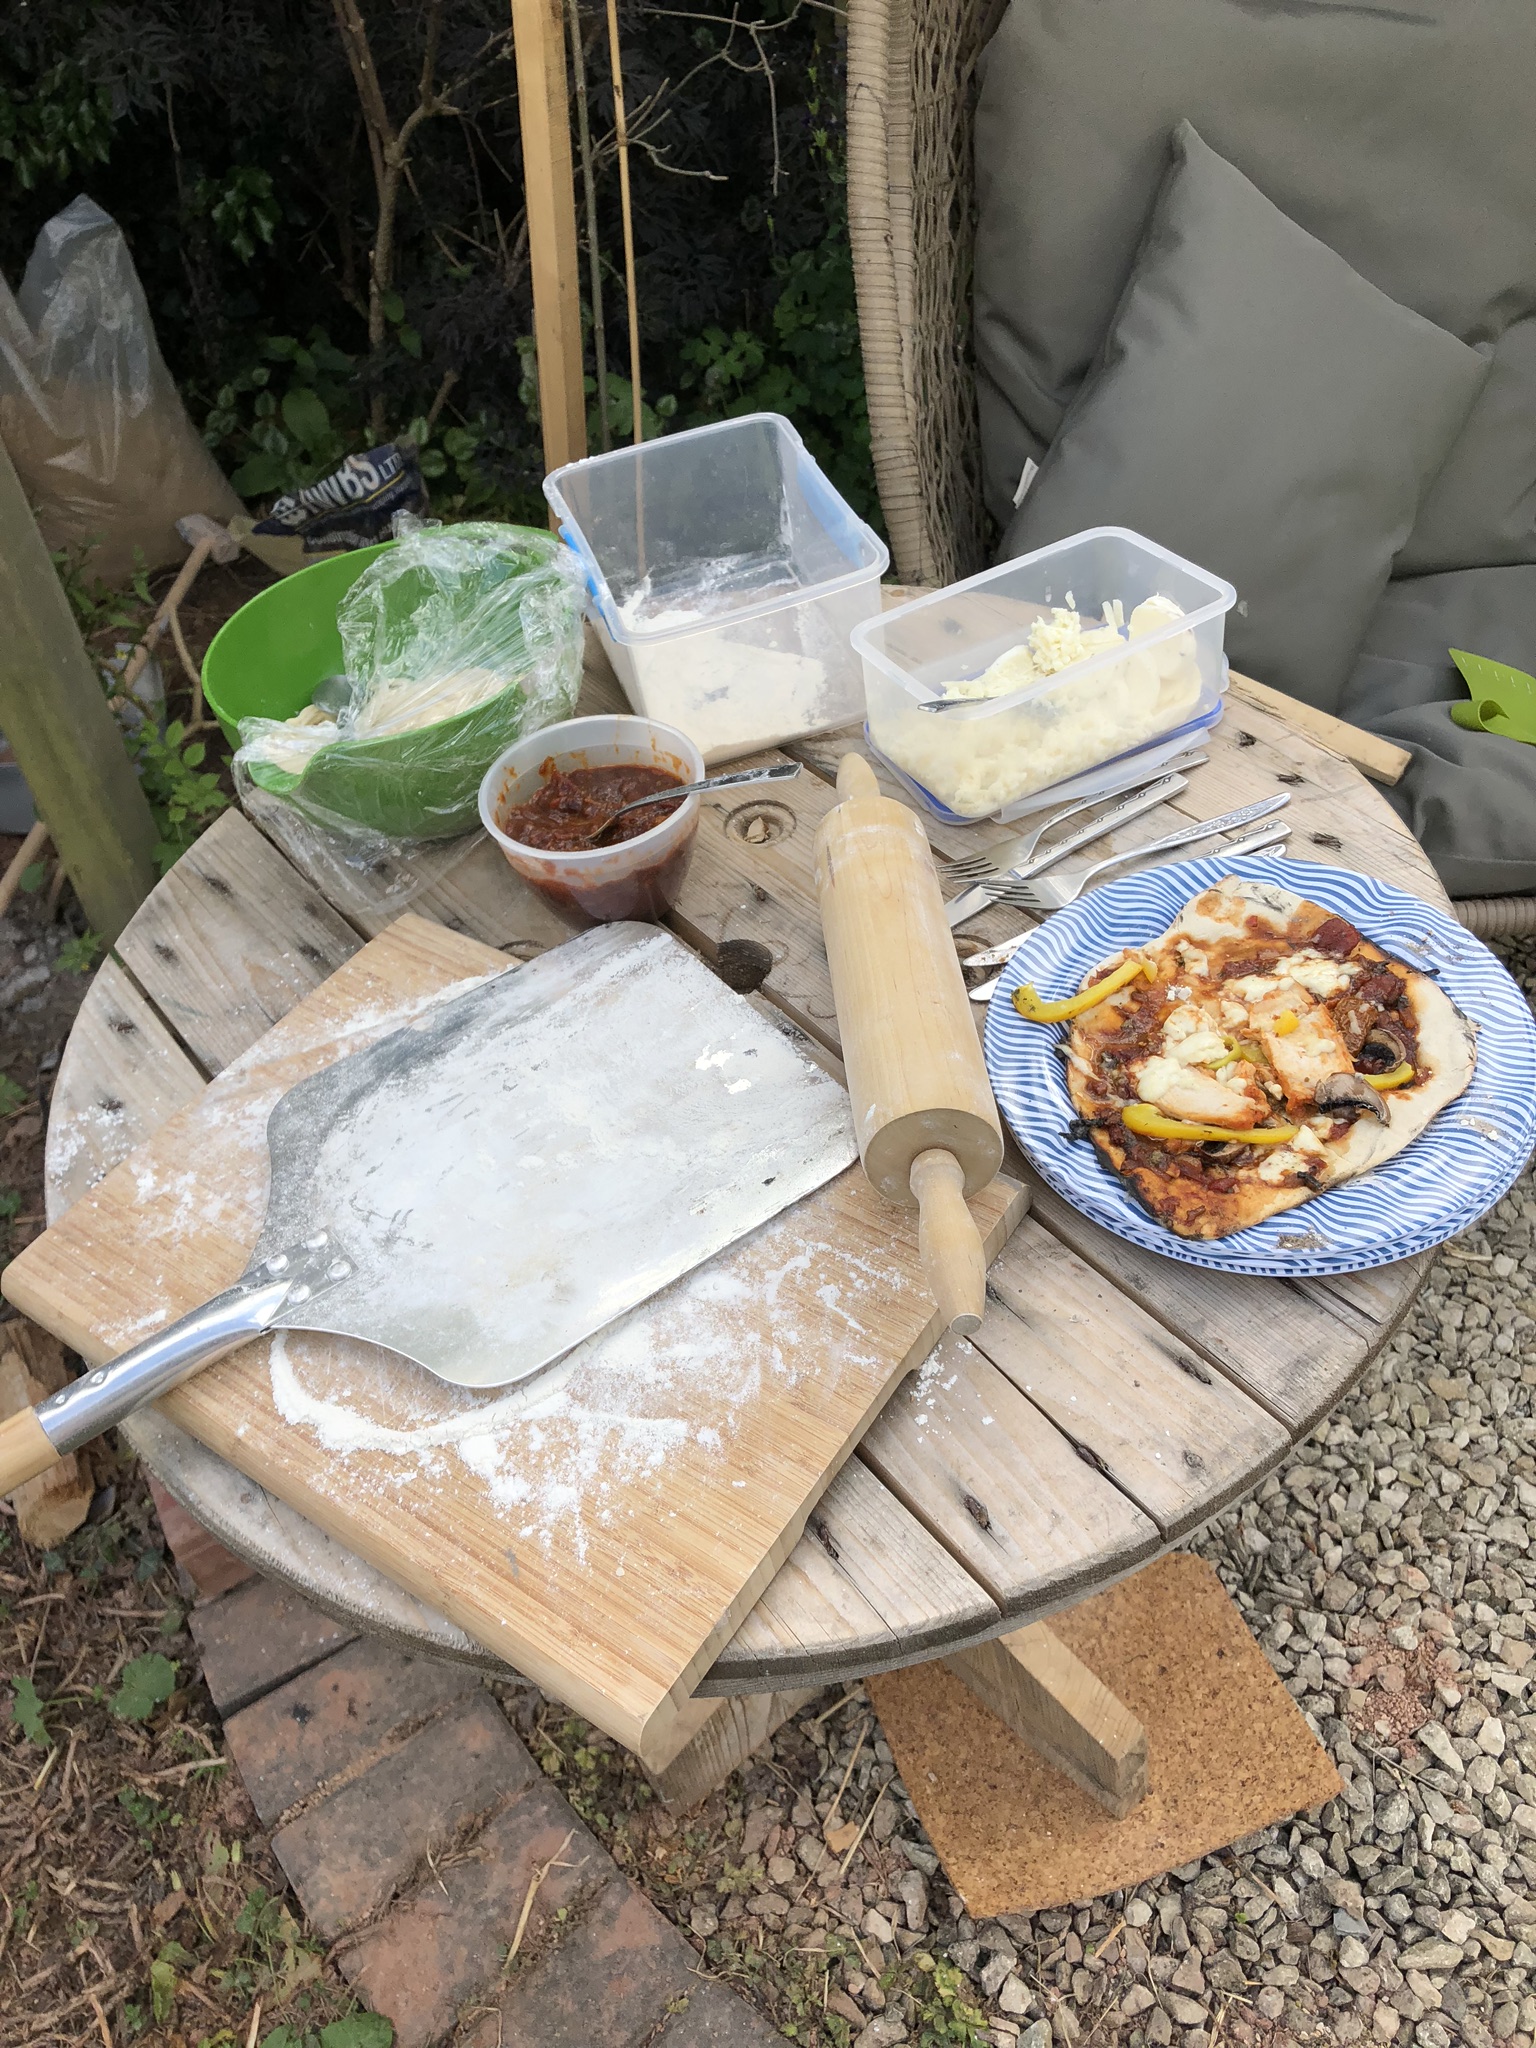
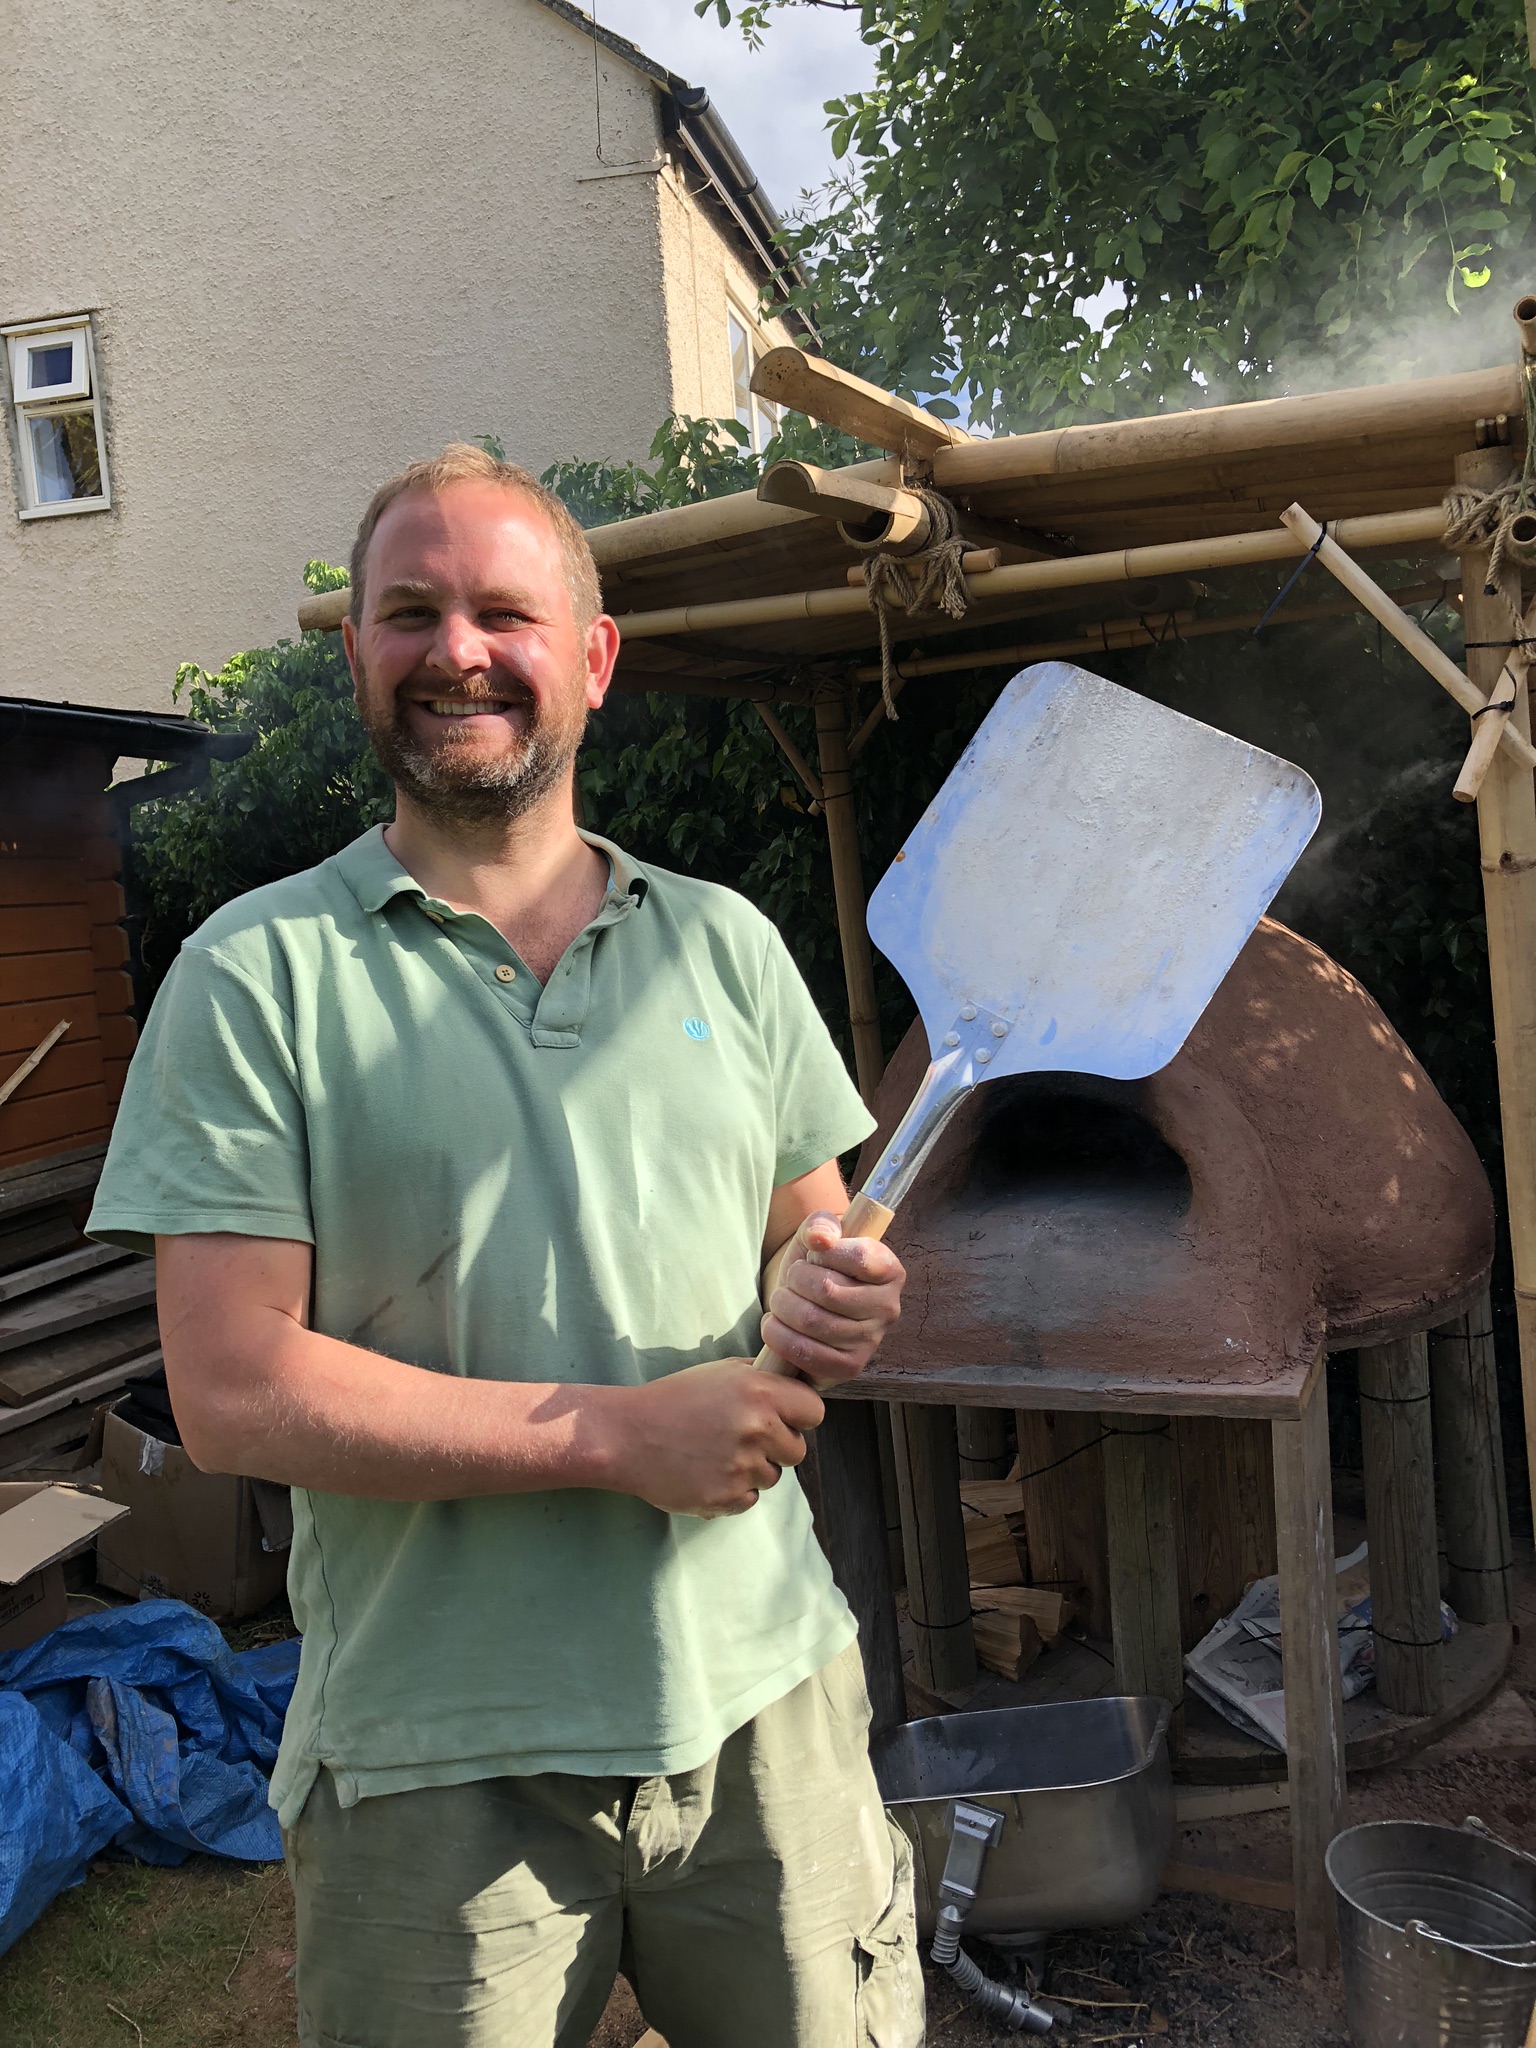
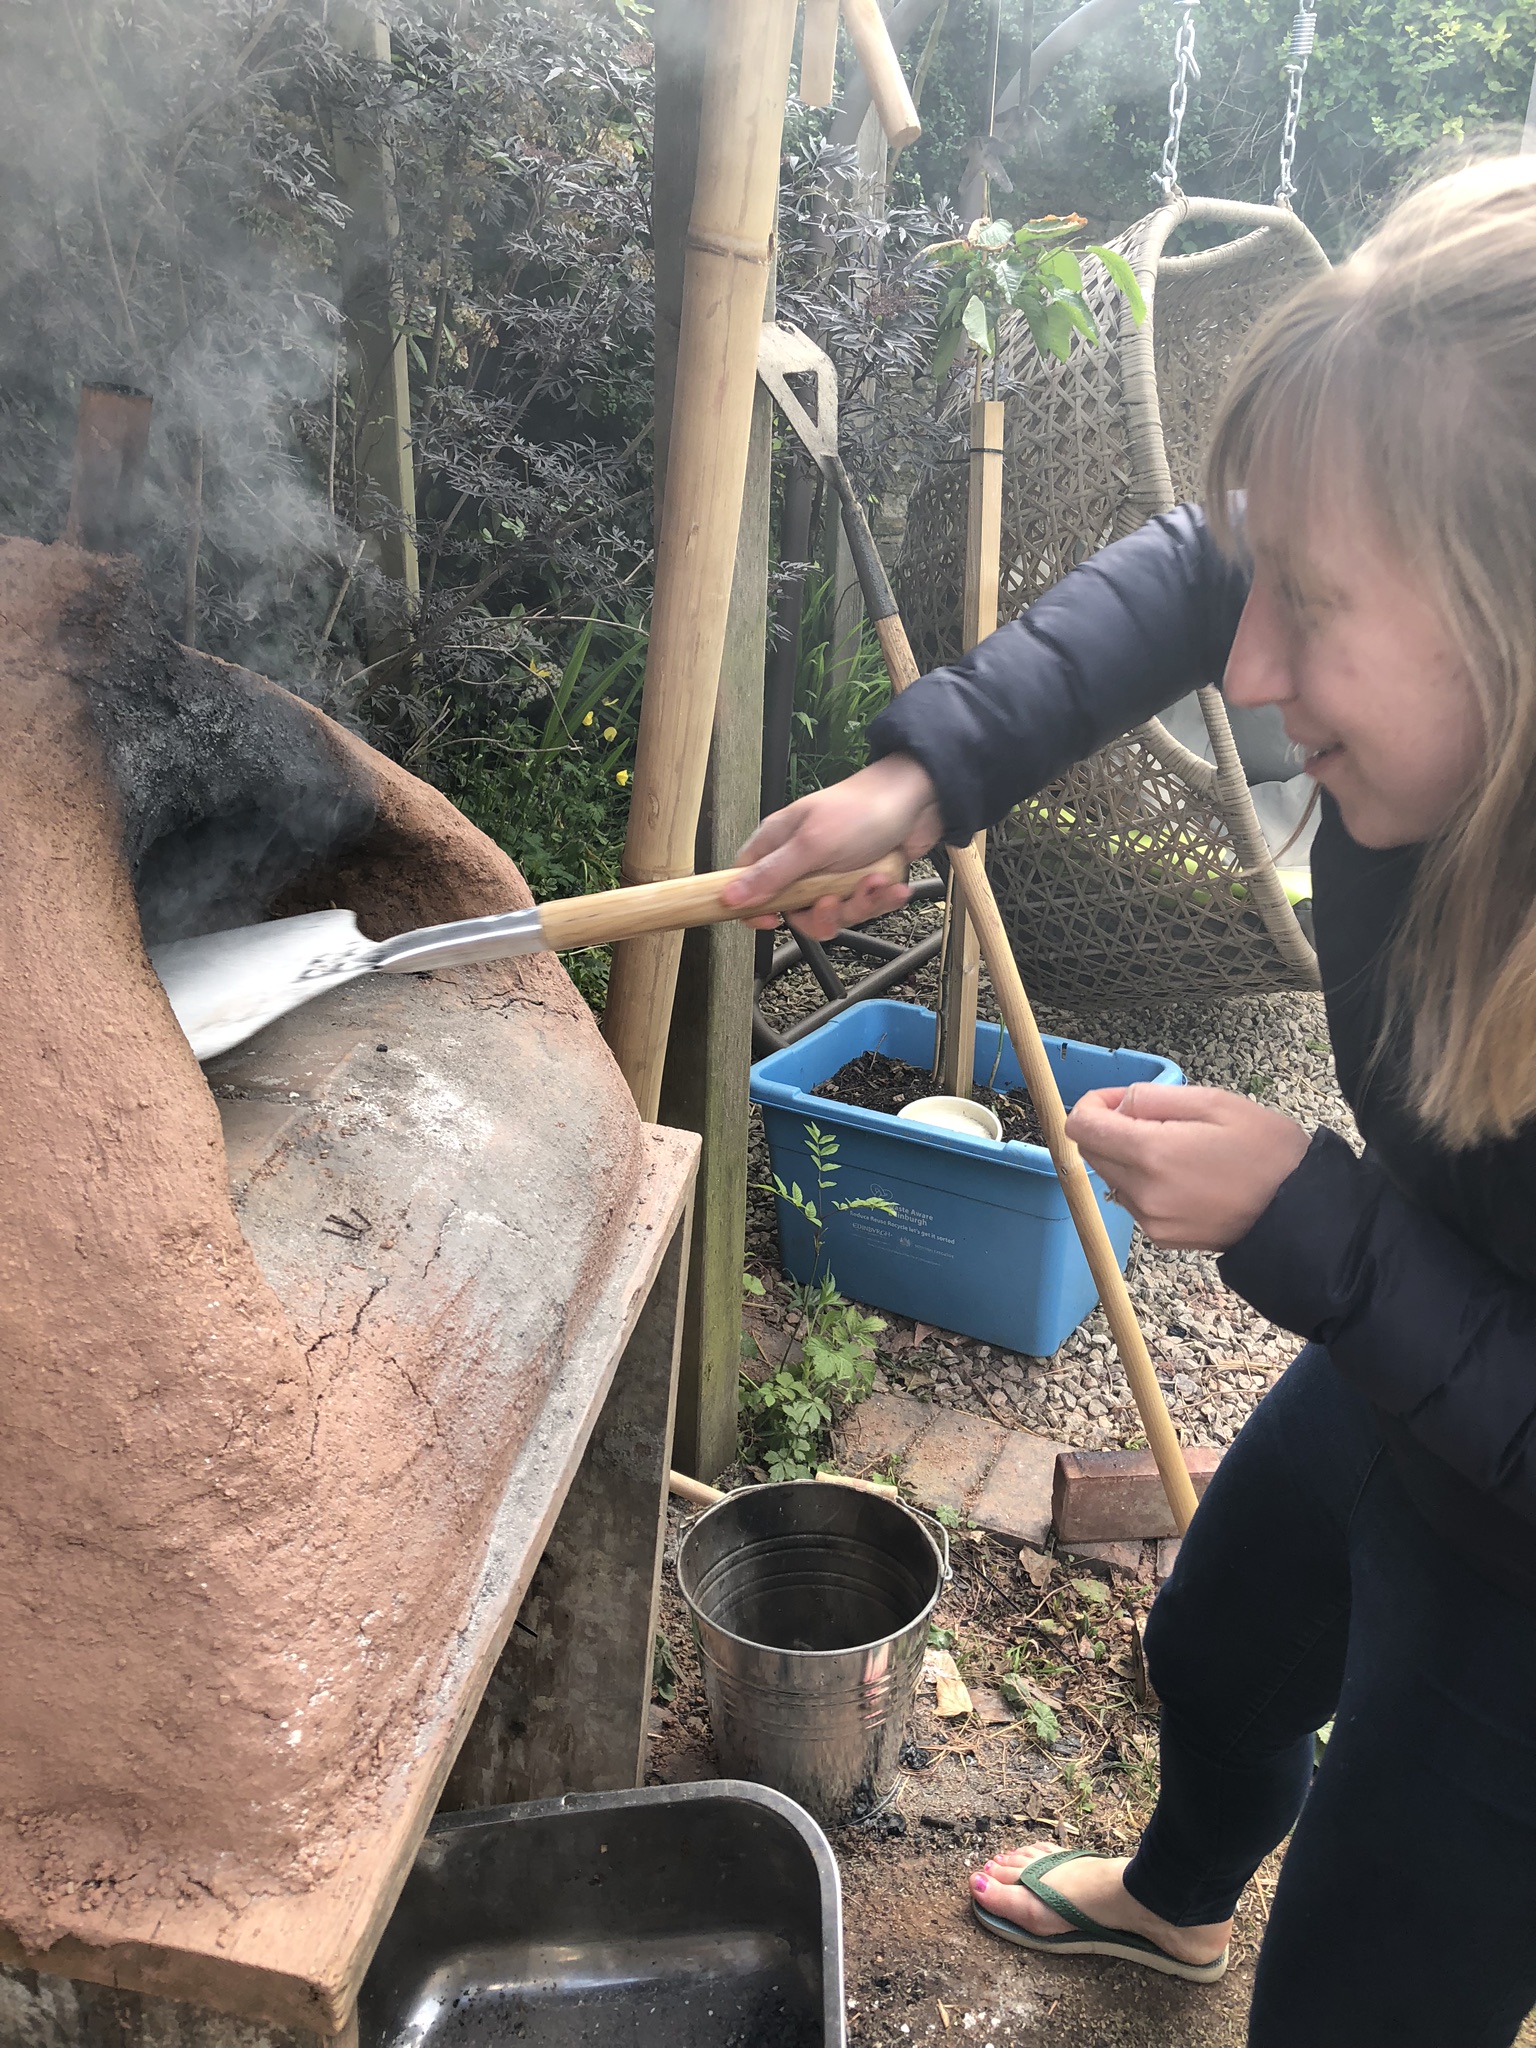
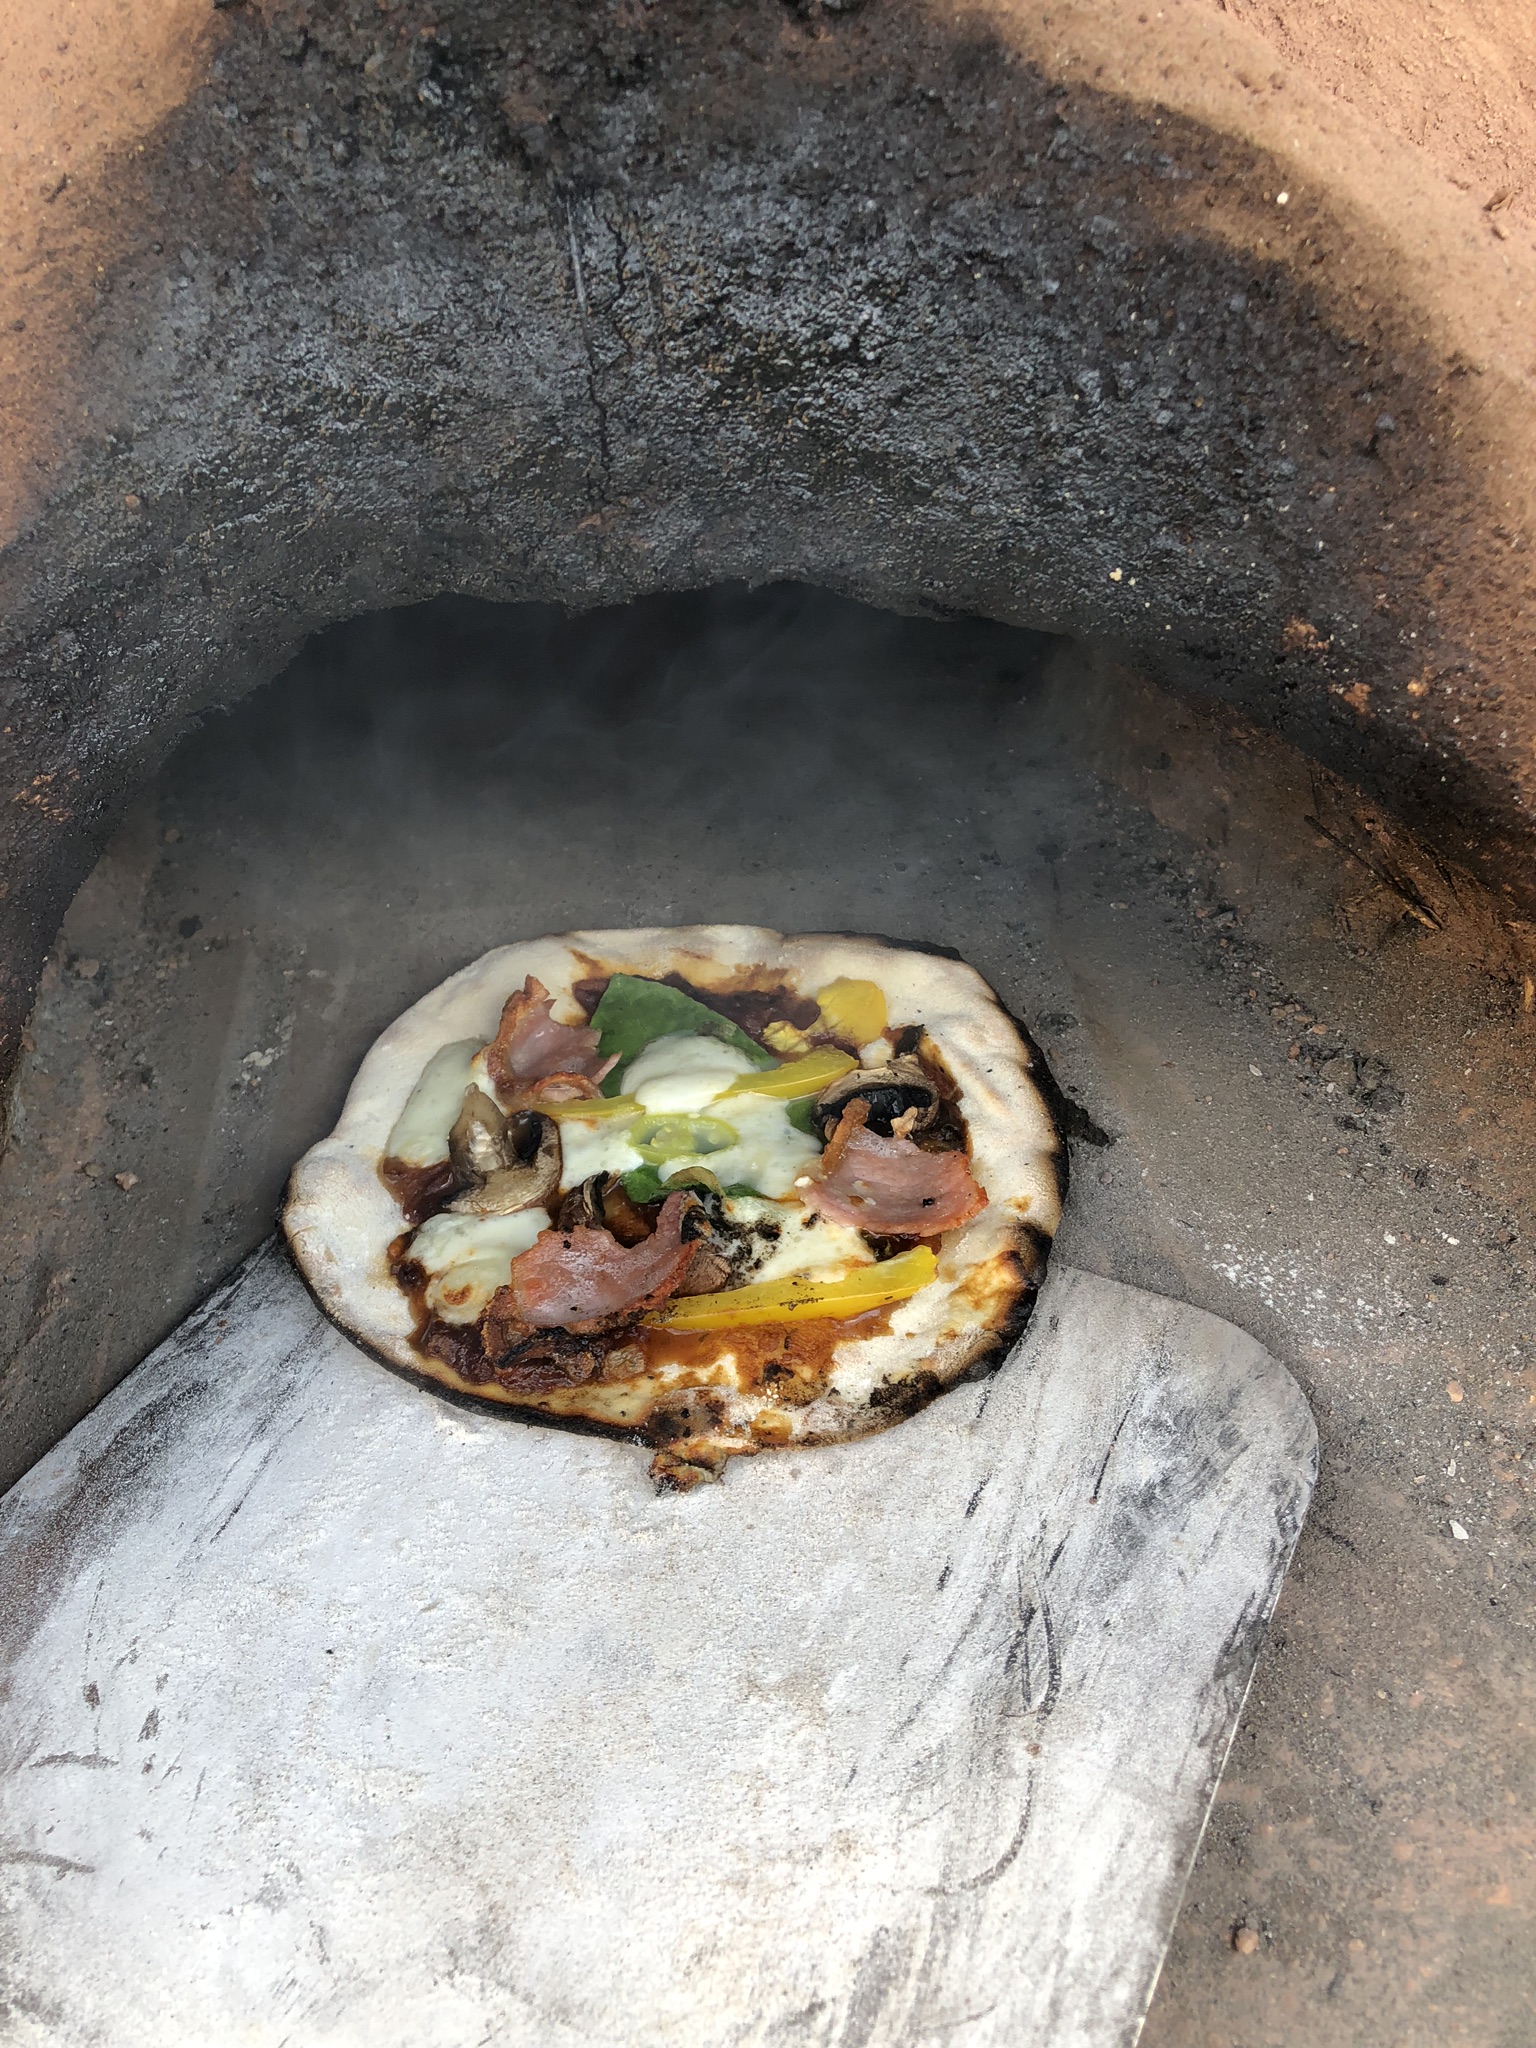
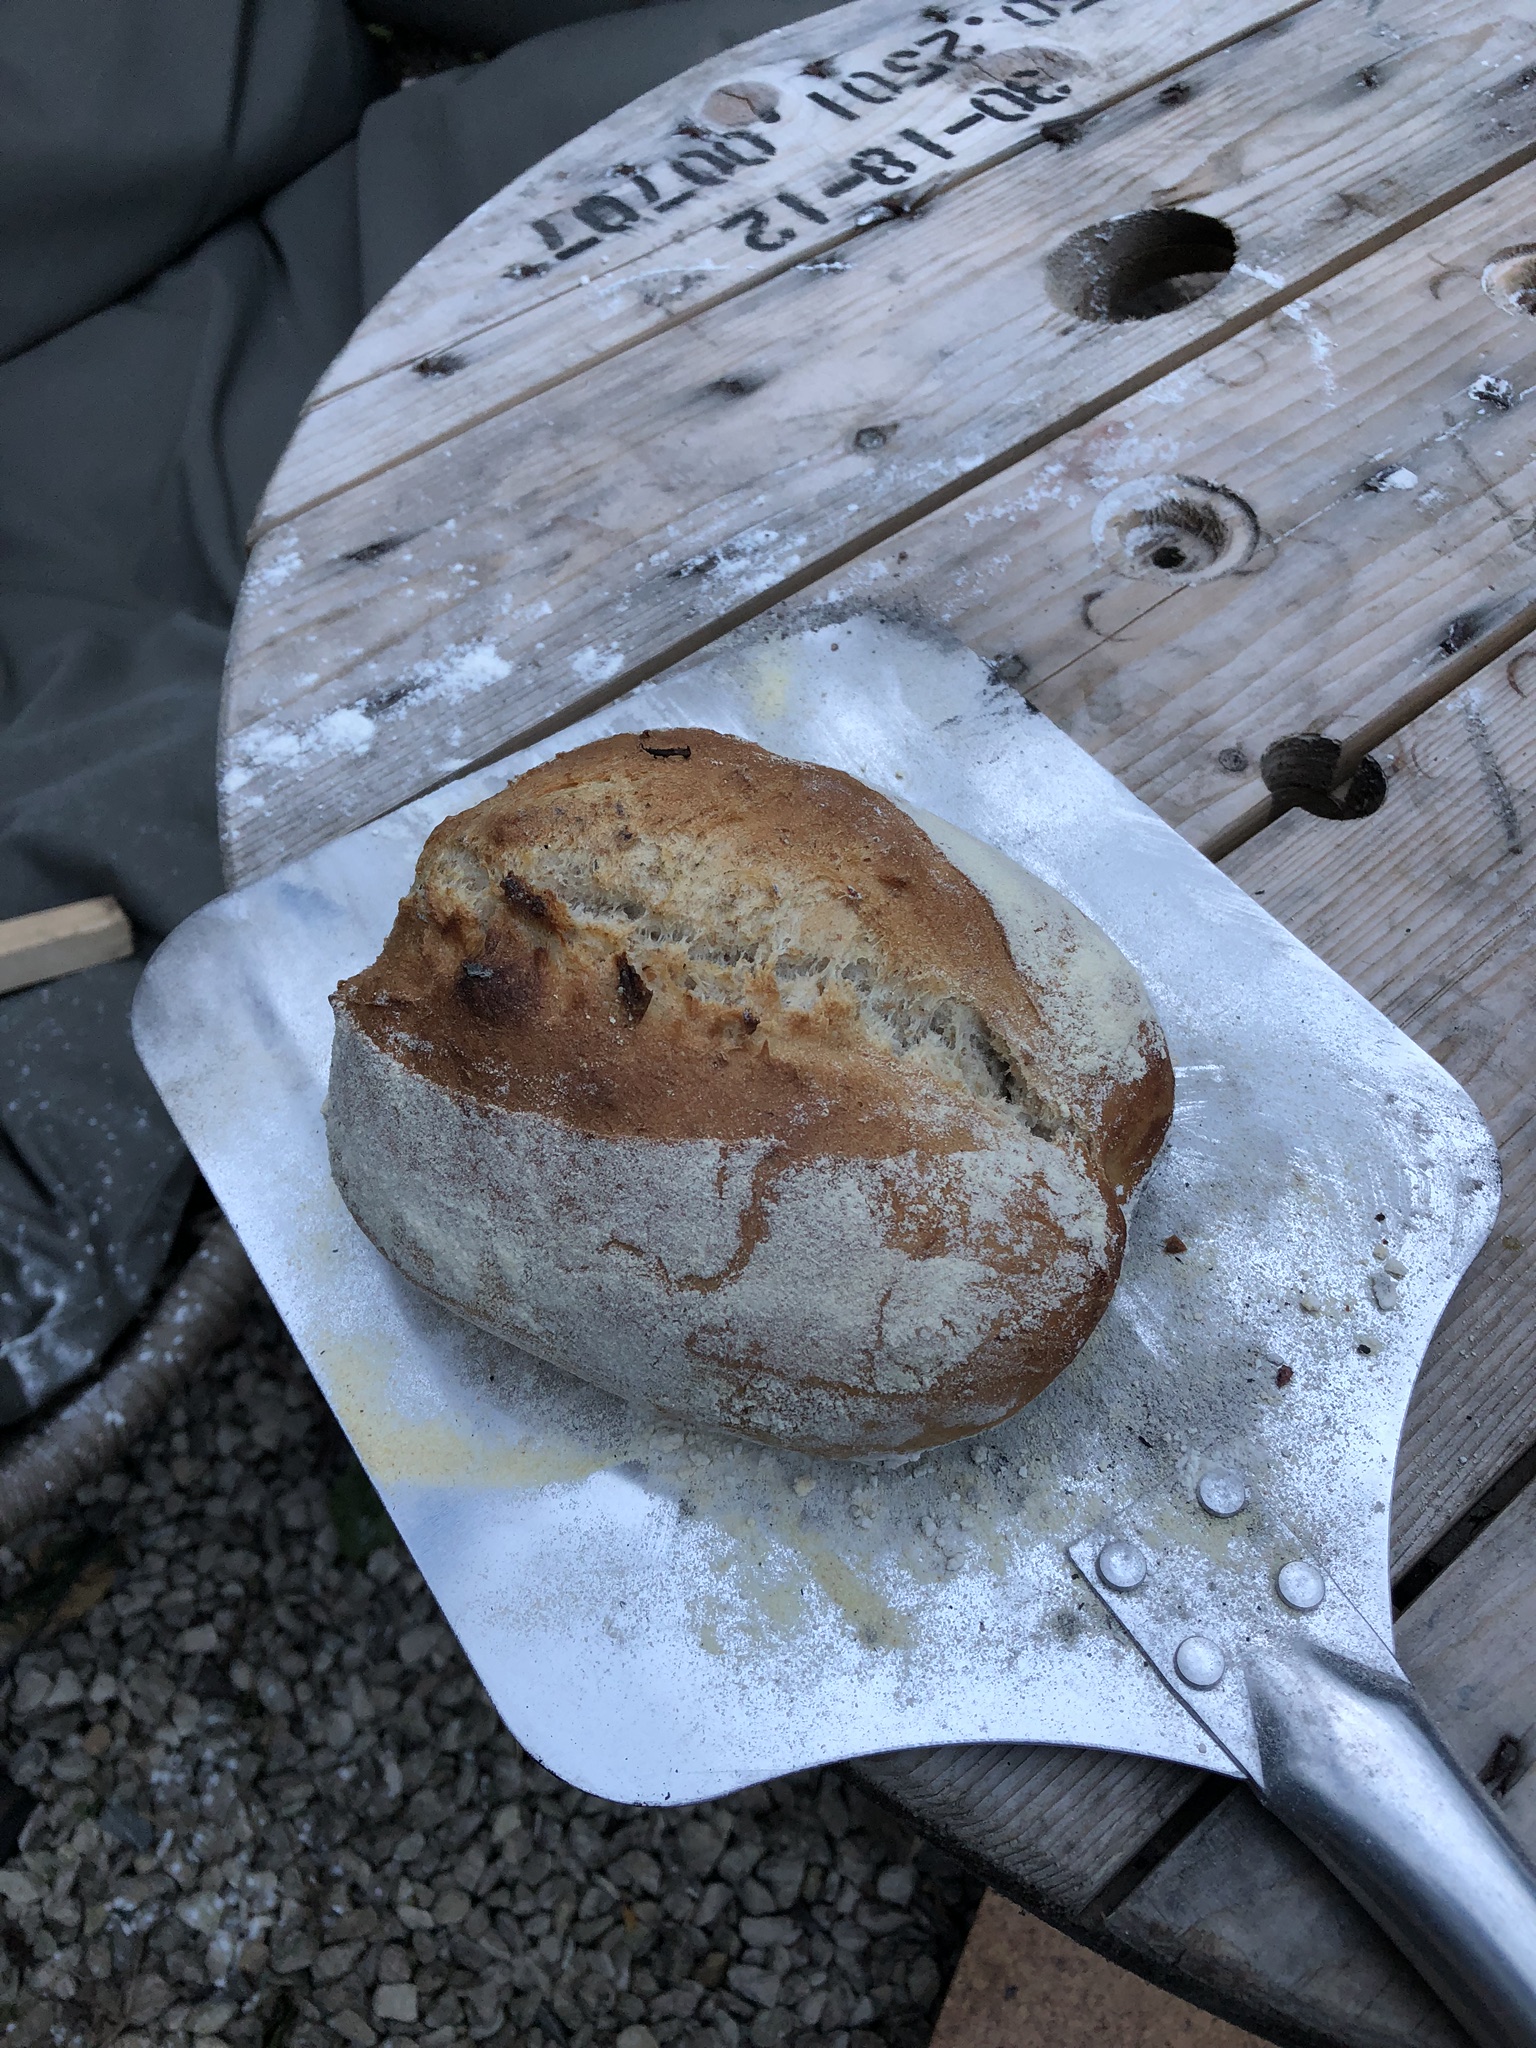
Once you hob oven is hot, and you are working with lots of hot embers, you are ready to cook. Push the embers to the back of the oven, creating a semi-circle. Make sure there is still a little flame. You will need a paddle to fit your oven, and I started with making pizza, dough balls and naan breads. My laser thermometer tells me it reaches at least 450c (max temp of device). The pizza takes around a minute to cook. Make sure you keep the pizza toppings minimal, or they end up in the fire when you flick it off the paddle, and not too wet, or it doesn’t leave the paddle! I have also used the oven as a tandoori to cook kebabs.
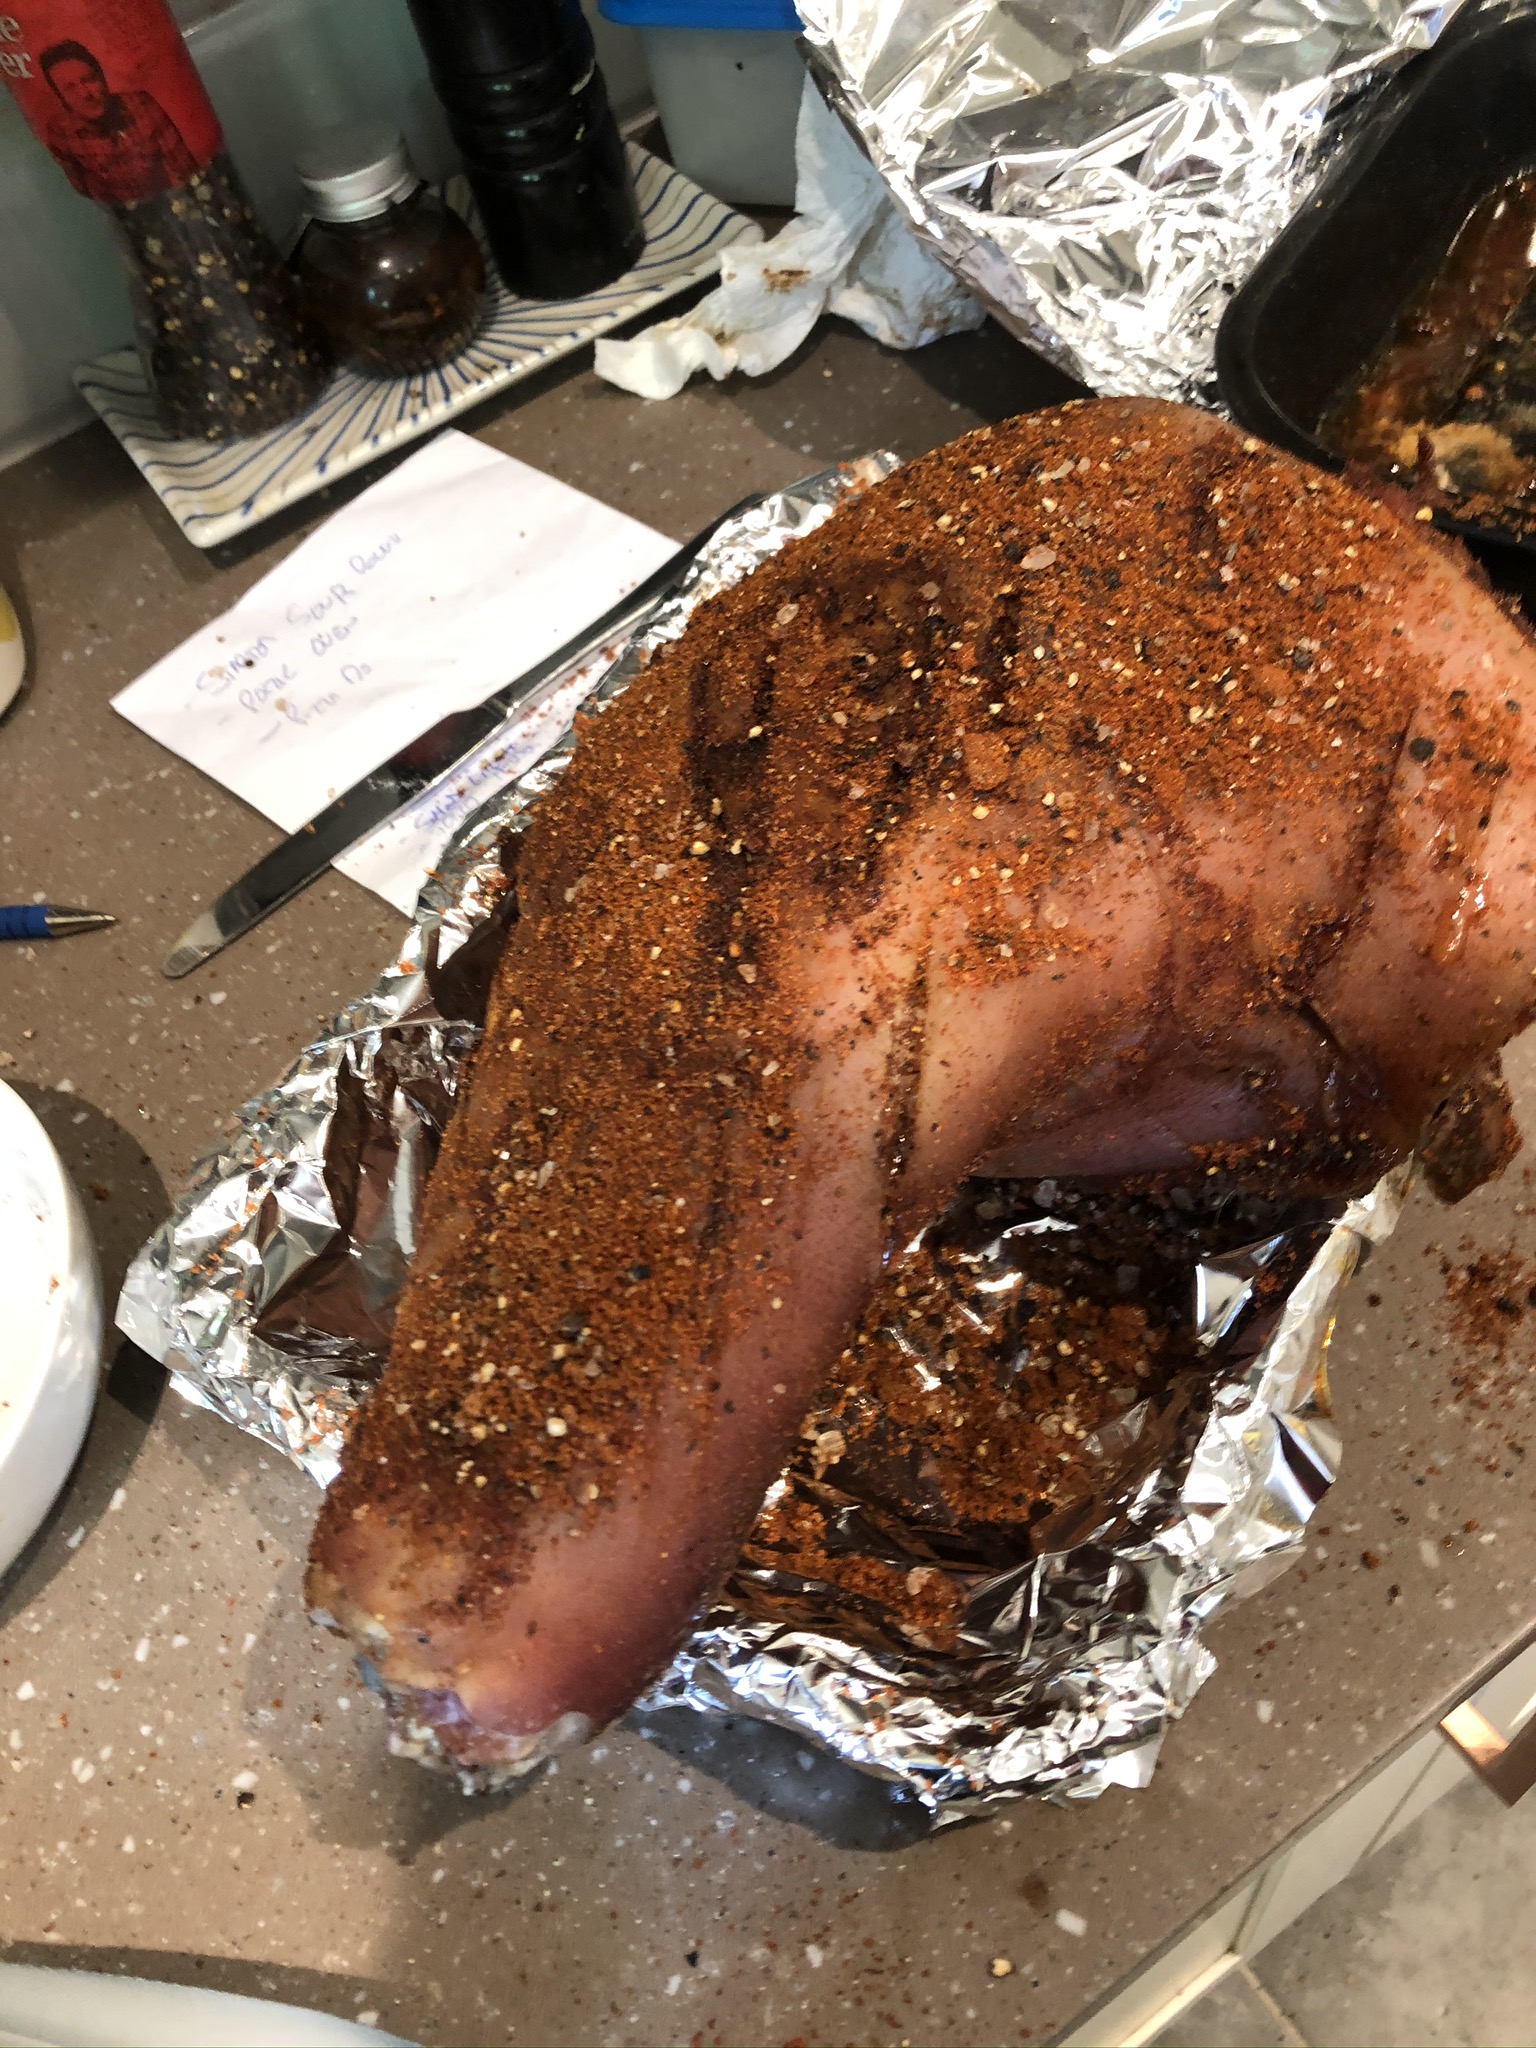
After pizza I then make sourdough bread and use my door to keep the heat in the oven. Woodfired bread tastes amazing. Following bread, I have slow-cooked a chicken or pork leg overnight. They taste fantastic and it is still at 140c when I come back 12 hours later.
A labour of love from construction to cooking and it eats wood! But great fun, and good for friends and family. Expect to smoke your hands, mine are yellow for a day or two, and to singe some hair along the way!
The ultimate upcycling project.